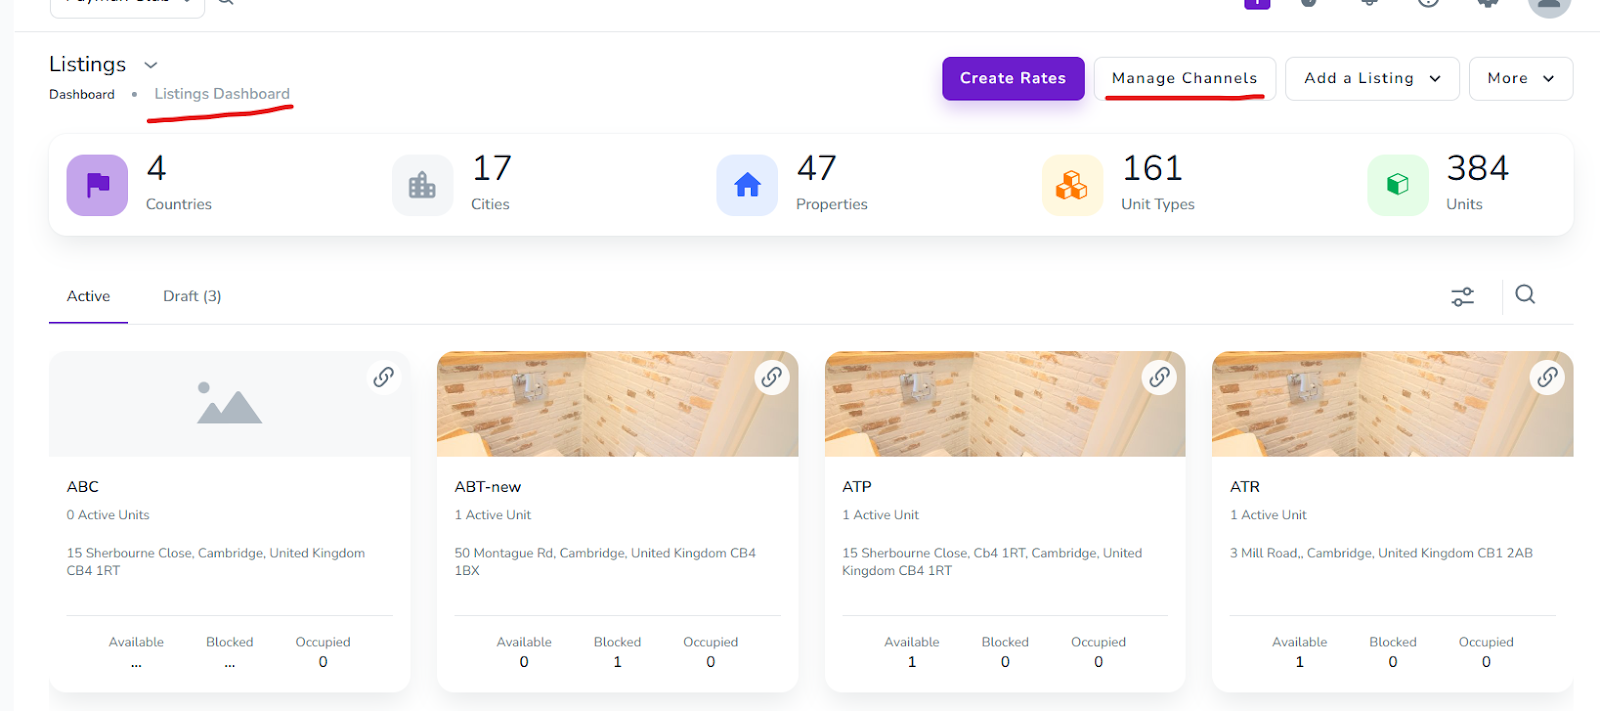
Note that before starting any steps, if you log in to app.zeevou.com and see the figure below on your Listings Dashboard page, please follow Connection Type A Instructions. Otherwise, proceed with Connection Type B Instructions.
Watch this video tutorial to learn how to map your listings on Expedia for Connection Type A:
Log in to Expedia.com Extranet and open your desired listing page.
Navigate to Rooms & Rates in the left menu and click Connectivity Settings.
You will be prompted for a verification code.
Click Get Started to select your provider.
Search for QuickConnect and click Next.
Click Connect for Availability & Rates, Messaging, and Reservations. Then click Next.
Finally, click Confirm.
Log in to app.zeevou.com, go to Listings, and click Manage Channels in the top right.
Select Expedia and click Connect.
Follow these two steps to get connected:
Step 1. How it works: Tick Attestation, then click Save & Next.
Step 2. Further Instructions: Click Yes and then Connect.
Click Synchronise Your First Property and confirm by clicking Yes.
Paste the Hotel ID and click Next.
Then verify the Currency and click Next.
In front of your desired Expedia room name, click the Select Properties button.
Select the desired property from the drop-down menu and click Next.
Then click Manage 1 Rate and select Activate.
Adjust the number of people in the pricing settings under Advanced, set the markup percentage if needed, and click Save.
Watch this video tutorial to learn how to map your listings on Expedia for Connection Type B:
1. Log in to the Expedia Extranet and open your desired listing page.
2. Navigate to Rooms & Rates in the left menu and click Connectivity Settings.
3. You may be prompted for a Verification Code.
4. Click Get Started to select your provider.
5. If an old channel manager exists, remove it by clicking Change Provider.
6. Search for Connection Type, select Type B, and click Next.
7. Click Connect for Availability & Rates, Messaging, and Reservations, and then click Next.
8. Finally, click Confirm.
9. Copy your Hotel ID from Expedia. You can find it in the top-right corner of the page.
10. Log in to app.zeevou.com and go to the Listings Dashboard.
11. Open your desired listing and click Manage Channels in the top-right corner.
Note: If you are using Safari, the new pop-up window might not open. Please follow the steps mentioned here.
12. Select the Expedia logo from the pool list.
13. On the new page, fill in the following fields:
Channel Hotel ID: Expedia Property ID / Hotel ID.
Connection Name: Use this to name your connection, making it easier to search for the connected channel account.
Default Multiplier: Use this to set the rate multiplication factor applicable to all room types.
Default Surcharge: Use this to apply a surcharge to all room types.
Markdown Tax Percentage: Expedia allocates bookings with a total amount inclusive of all taxes. The channel does not pass along any tax value charged for the booking in the XML. To calculate tax and pass along the values, enter the amount of taxes applied on Expedia.
If no value is passed, the booking will be passed as received from the channel.
Rate Pricing: Select the rate pricing model set up on Expedia.
Currency: The property currency should be the same as the one set up in Expedia.
Exclude Fees: Enable this to exclude daily fees from the daily room rate.
14. Click Next to proceed to mapping.
15. You will see:
Expedia Room-Rate (Expedia rate plan) list.
Zeevou Room Name (Unit Type) & Zeevou Rate Name (Rate Plan) list.
Then, for each room or unit type:
Select the corresponding Zeevou Room Name and Rate Name.
Click Map to open the configuration pop-up.
Note 1: Each unit type and rate plan in Zeevou must be mapped separately.
Note 2: Repeat this step for each rate plan in Expedia, or ask Expedia Support to make them derived rate plans.
You should continue the mapping flow based on the Rate Pricing model selected in Step 7:
Room Based:
When configuring room-based pricing, the following settings help you set rates:
Single Occupancy: For a single-use rate, select the checkbox. When selected, an option will appear to allow you to set up multiple rates.
Applicable No. of Guests: Select the applicable number of guests. The rate will be based on what is received from Zeevou for the applicable number of guests.
Rate Multiplier (X) / Surcharge (+/-): Use this to increase or decrease the rate by a percentage and/or fixed value. You can use either option or both simultaneously, as required.
Example: To increase the rate by 10%, enter 1.1 in the first multiplier box. To decrease the rate by 10%, enter 0.90. Similarly, to increase the rate by a fixed value of 5, enter 5 in the surcharge box, or enter -5 to decrease the rate by 5.
Occupancy Based:
When configuring occupancy-based pricing, the following settings help you set rates:
Number of Guests: Click + to add additional rows according to occupancy. We will push out the rate for that occupancy to match the maximum number of guests.
Rate Multiplier (X) / Surcharge (+/-): Use this to increase or decrease the rate by a percentage and/or fixed value. You can use either option or both simultaneously, as required.
Example: To increase the rate by 10%, enter 1.1 in the first multiplier box. To decrease the rate by 10%, enter 0.90. Similarly, to increase the rate by a fixed value of 5, enter 5 in the surcharge box, or enter -5 to decrease the rate by 5.
Then click Save.
Navigate to Channel Connection Details.
Change the status from INACTIVE to ACTIVE by clicking the info alert icon under the Hotel ID.
Click Yes to confirm activation.
The status will update to LIVE in green.
Want to learn how to connect Trip.com to Zeevou? Read the guide here →
Need to disconnect your property from a connected channel? Read the guide here →
