Set up your guest-facing details and information. These details can appear across your Zeevou website and guest communications, helping guests recognise your business and know how to contact you.
Add each of the following details to give your guests the information they need to recognise your brand and get in touch with you:
Click the Profile icon in the top-right corner.
Select Account.
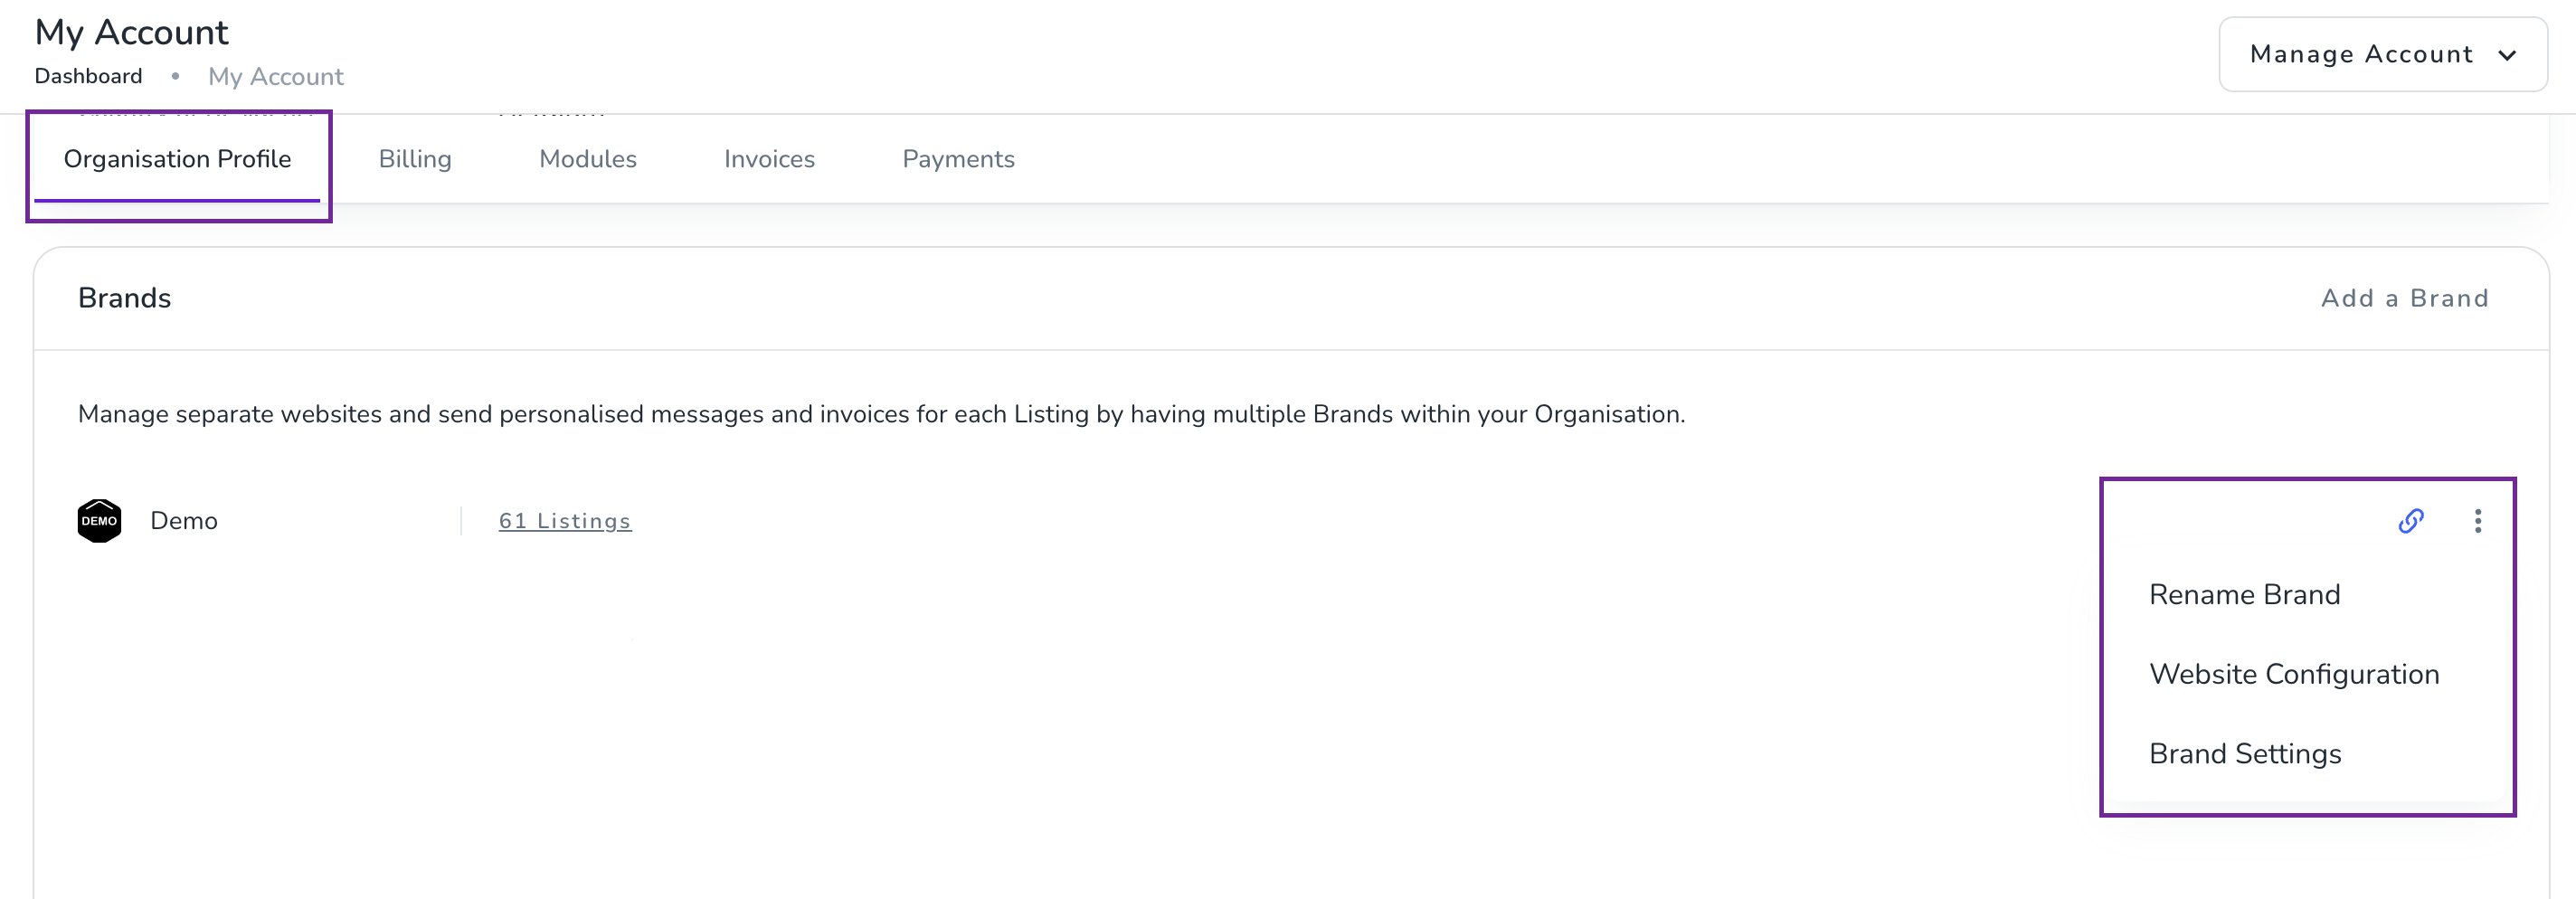
Scroll to the Brands section.
Open the brand you want to configure.
Check that your brand name is correct.
To rename your brand, click the three dots (⋮) icon next to the brand and select Rename.
Go to Websites.
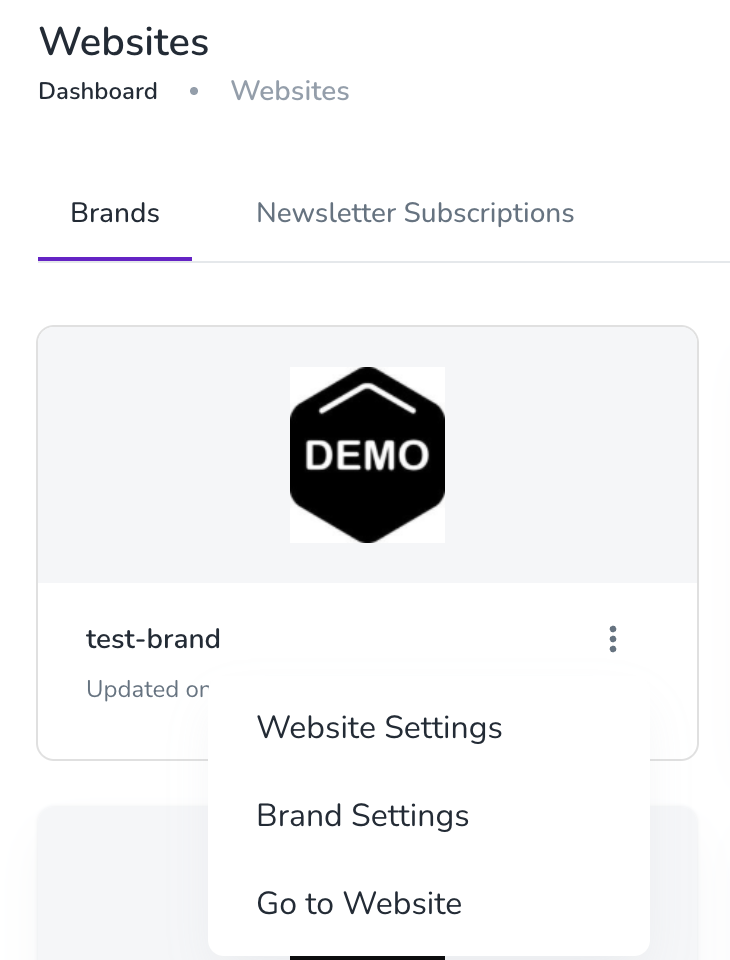
On your Brand tab, click the three dots.
Select Website Settings.
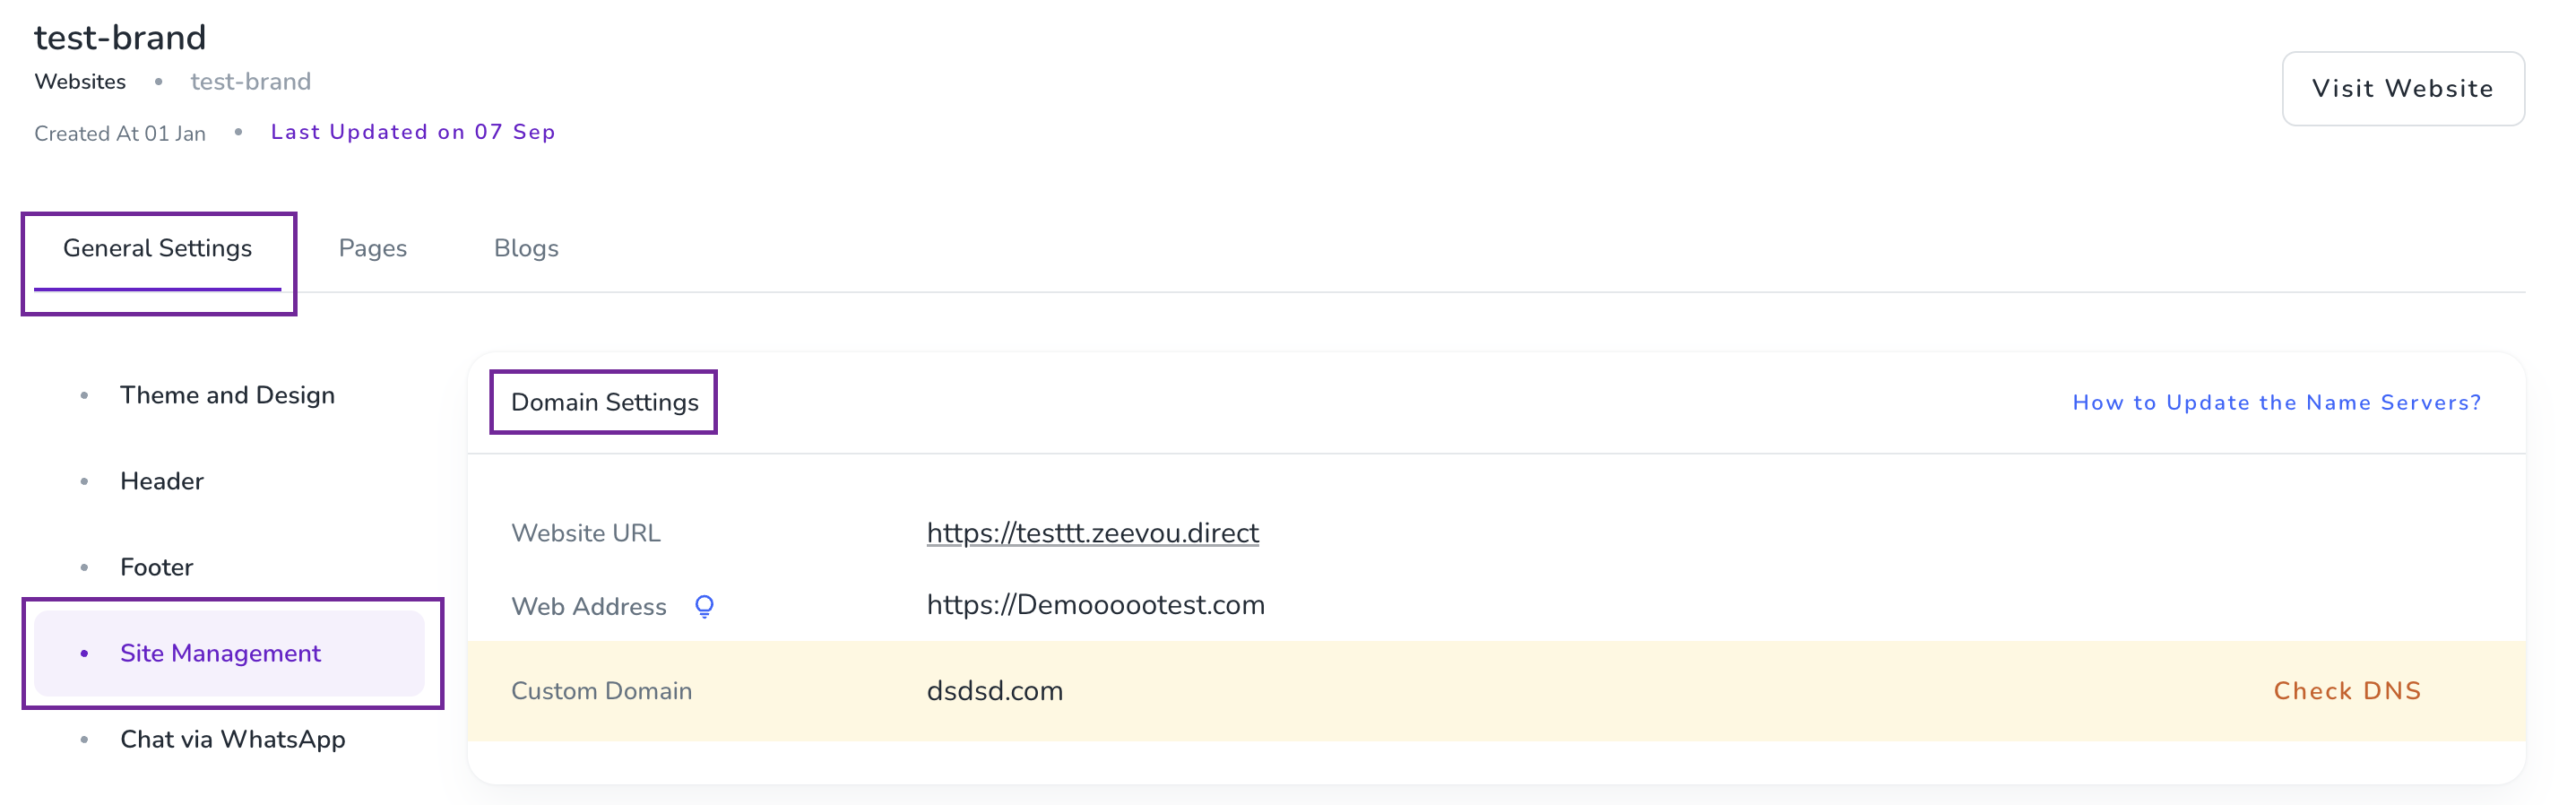
In General Settings, go to Site Management.
Under Domain Setting, choose your preferred domain setting.
If you have a custom domain, you can connect and use your custom domain for your website.
Go to Websites.
On your Brand tab, click the three dots.
Select Website Settings.
In General Settings, go to Themes and Design.
Scroll down to Brand Identity.
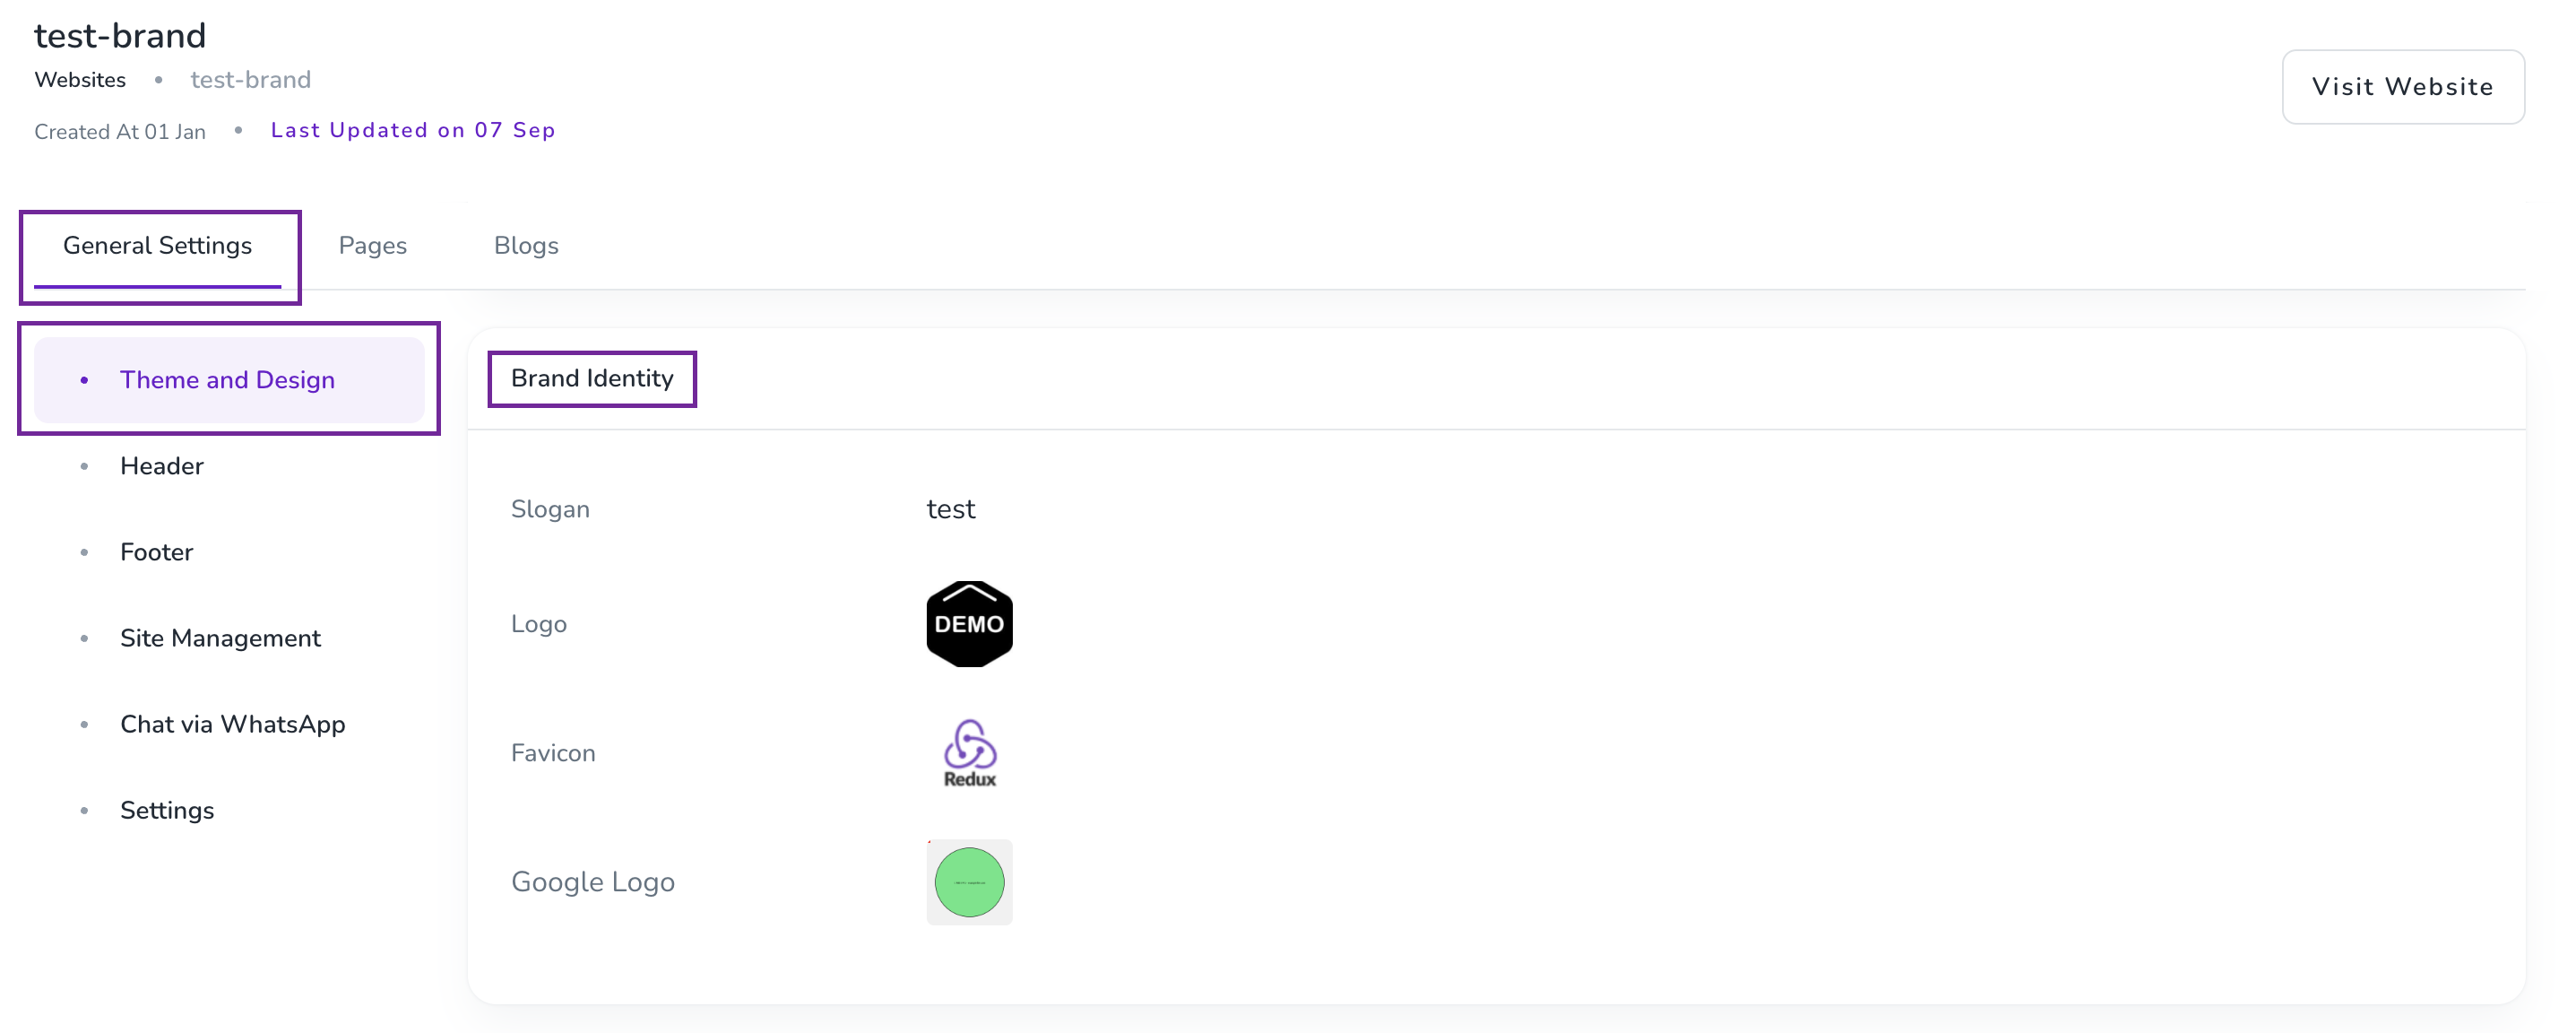
Your logo represents your business across guest-facing experiences. Your favicon is the small icon displayed in the browser tab when guests visit your website.
Click the three dots (⋮) next to your brand and go to Brand Settings.
Provide your guest-facing contact details, including:
Email address
Phone number
Address
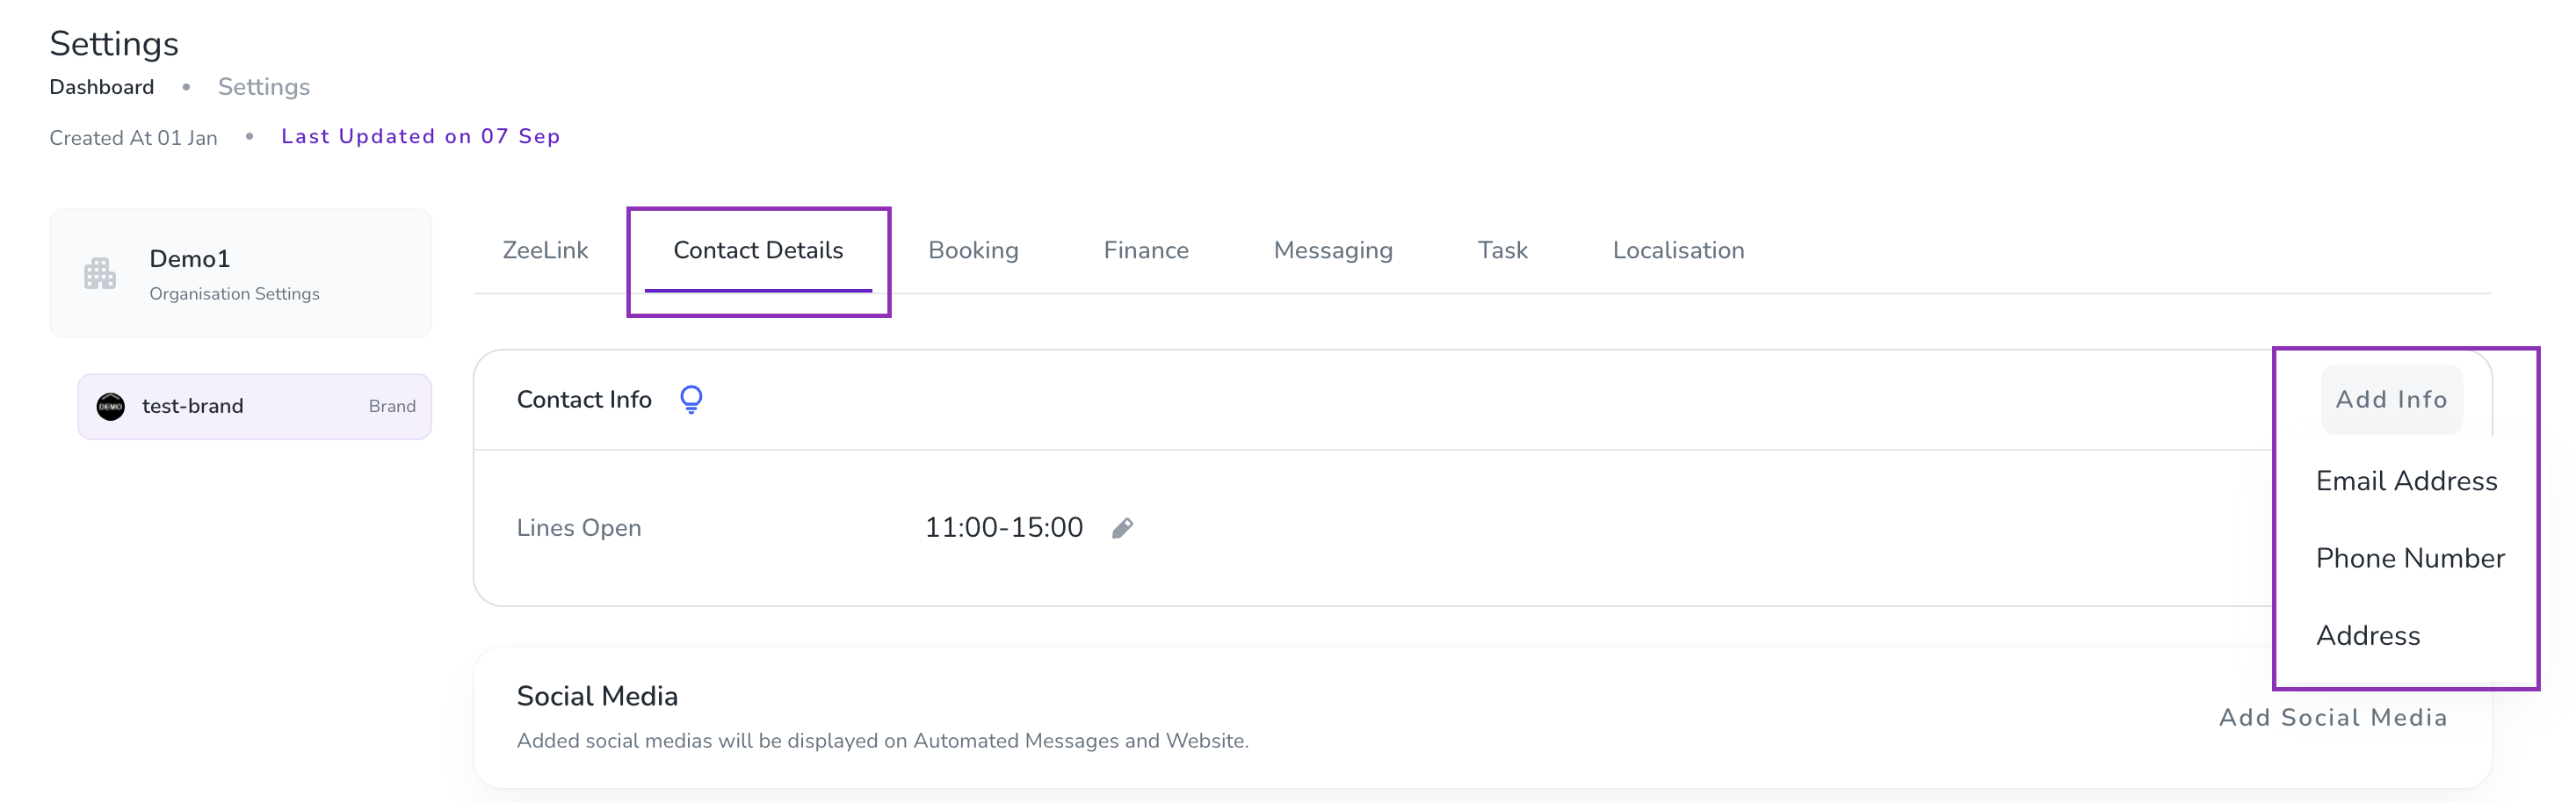
Use contact details that you actively monitor so guests can reach you when they need assistance.
Add an email signature so guests can identify your business and find your contact information when they receive emails from Zeevou.
You can access the Email Signature settings in either of the following ways:
Via Settings:
Go to Settings Dashboard
Open the Messaging tab
Open the Email Signature card.
Click Add Signature.
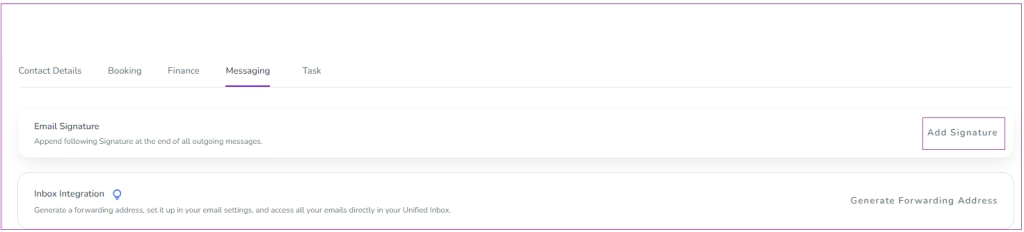
Via Automated Messages:
Go to Automated Messages Dashboard.
Click the gear icon.
Select Email Signature.
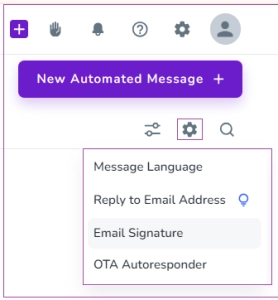
A drawer will open where you can enter your signature details. Click Save to apply.
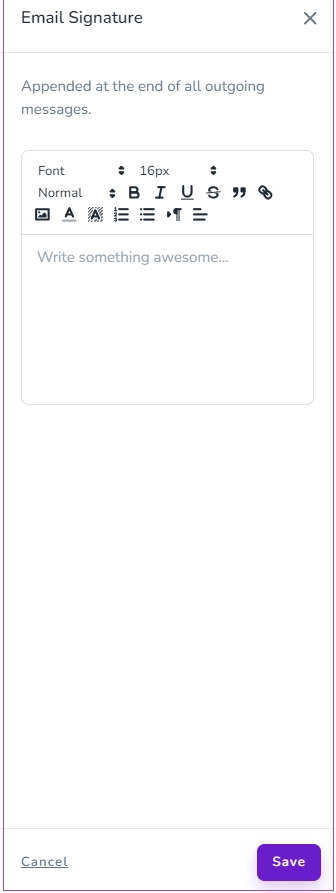
Your signature will appear automatically at the bottom of future Zeevou emails. You can also create different signatures for different brands.
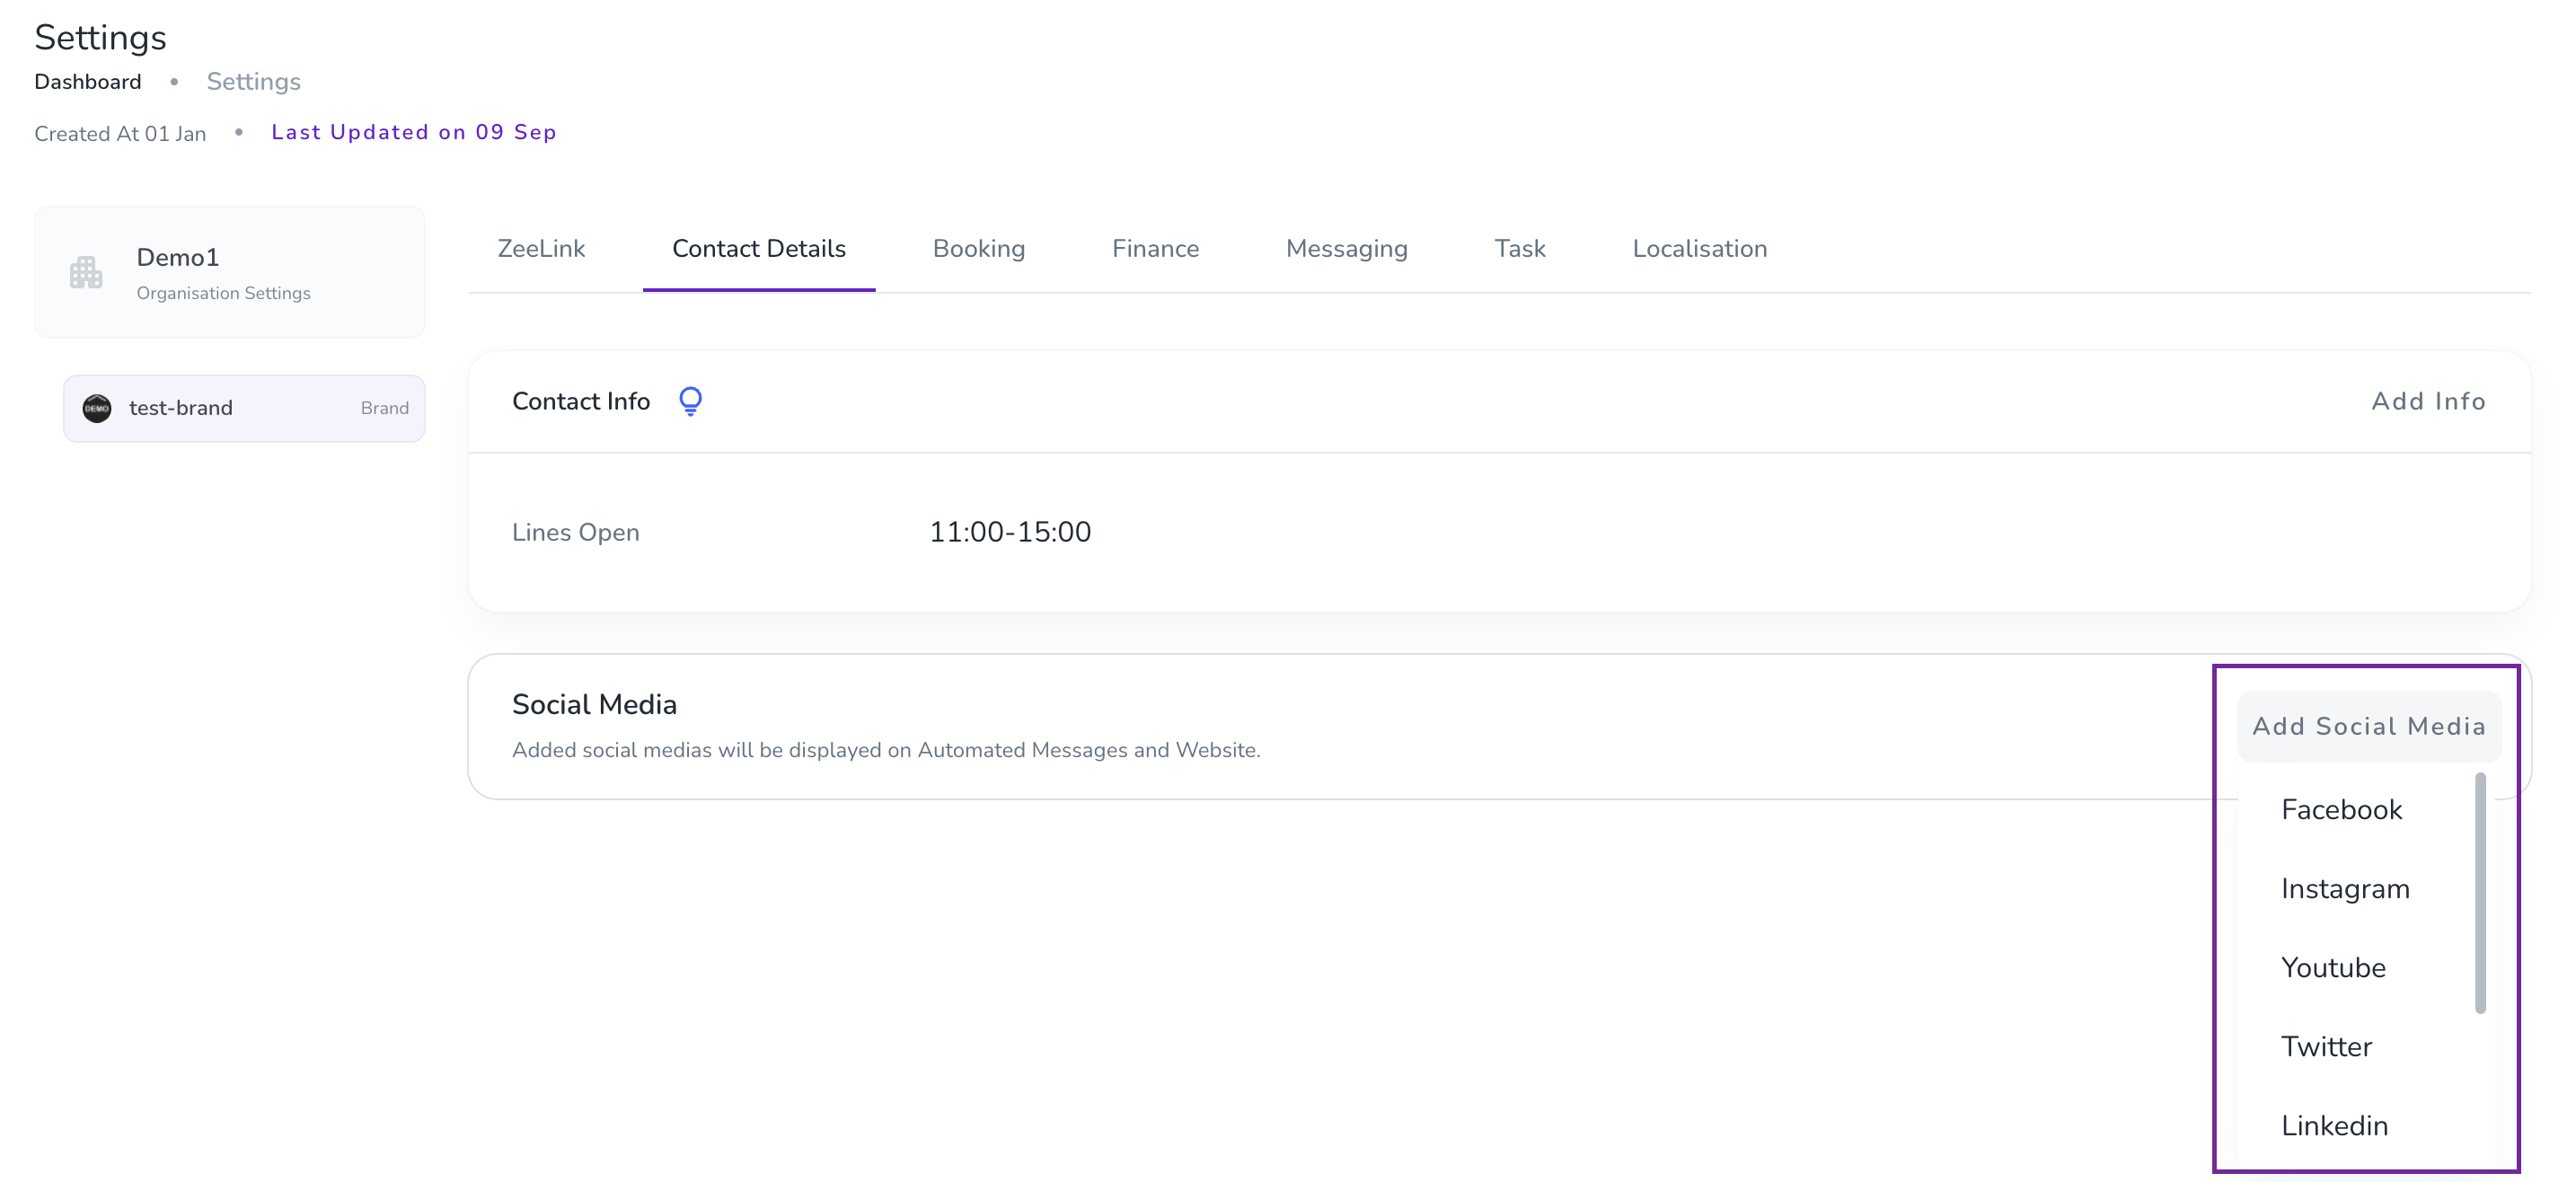
Add your social media handles to your brand details.
This makes it easier for guests to find and follow you on social media, helping you increase your following.
To add your social media handles follow these steps:
Go to Settings.
Open Contact Details tab.
Add Social Media.
Continue with Collect Guest Data to choose the information you want to collect from guests during the booking journey.
