WhatsApp gives you another convenient way to communicate with guests throughout their booking journey. Once connected, Zeevou can use your WhatsApp setup to send messages to guests alongside your other communication channels.
Before you start
Before connecting WhatsApp to Zeevou, make sure you have:
A Twilio account
Your Twilio Account SID
Your Twilio Auth Token
A Twilio Messaging Service
An approved WhatsApp Sender associated with your Messaging Service
Important: A WhatsApp Sender is a phone number associated with a WhatsApp Business Account. If the number you want to use is already registered with WhatsApp or WhatsApp Business, check Twilio's requirements before proceeding. You may need to migrate the number before it can be used as a WhatsApp Sender.
Zeevou connects to your Twilio account, then uses the Messaging Service and WhatsApp Sender you select to send WhatsApp messages to your guests.
Your WhatsApp Sender → Twilio → Zeevou → Guest
You only need to connect your Twilio account once. After that, you can select the Messaging Service and WhatsApp Sender you want Zeevou to use.
The WhatsApp integration is currently in beta. Should you wish to have access to test it out, log into app.zeevou.com. Click gear icon and select Integrations. Click WhatsApp Integration. Then, a window pops up and click Activate WhatsApp.
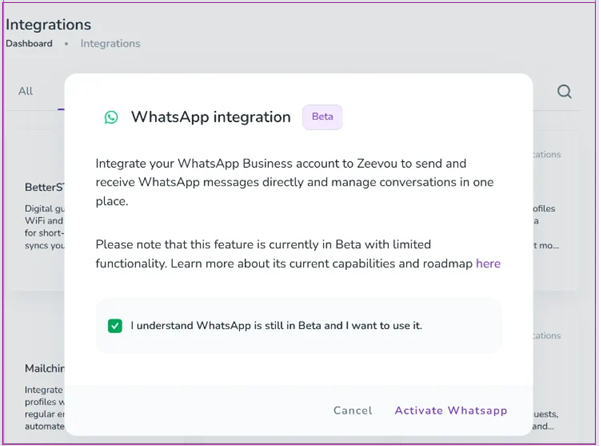
Zeevou's Twilio integration allows you to send WhatsApp messages to guests through your Twilio account.
Follow the steps below to connect your Twilio Messaging Service and WhatsApp Sender to Zeevou.
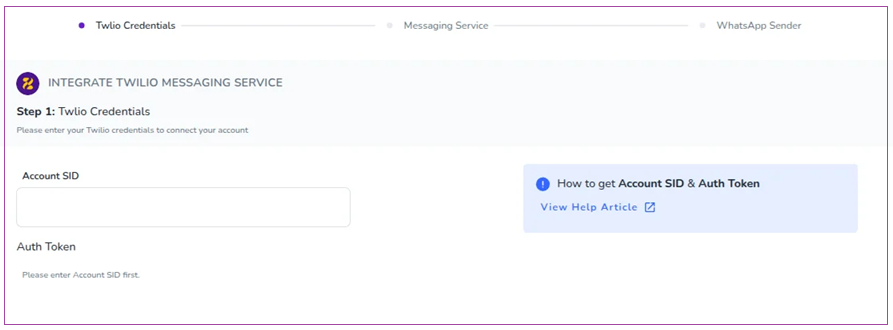
In Zeevou, go to Integrations and open the Twilio Messaging Service integration wizard.
Enter your Twilio Account SID.
Enter your Twilio Auth Token.
Click Next.
You can find your Account SID and Auth Token in the Twilio Console:
Log in to your Twilio Console.
On the Console Dashboard, find the Account Info section.
Copy your Account SID.
Click Show next to Auth Token.
Copy the Auth Token and store it securely.
Click Next to continue.
Note: The Auth Token field becomes available after entering a valid Account SID.
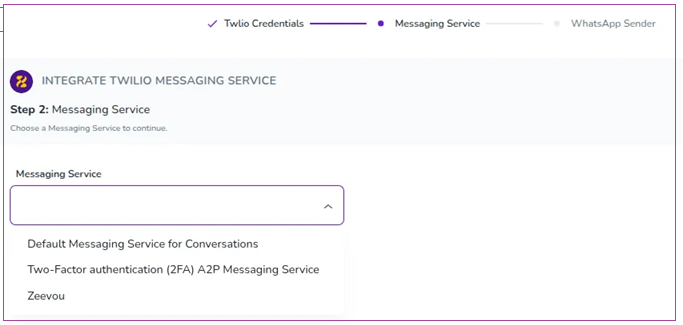
After connecting your Twilio account, select the Messaging Service that Zeevou should use.
If you already have a Messaging Service:
Open the Messaging Service dropdown.
Select the Twilio Messaging Service you want Zeevou to use.
Click Next.
Only Messaging Services available in your connected Twilio account will appear in the dropdown.
If you don't have a Messaging Service, select Create a Messaging Service for me, if this option is available.
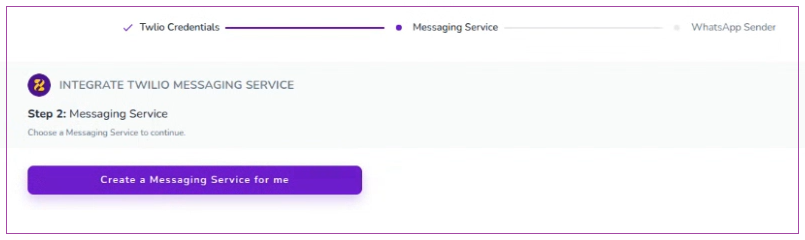
Note: If you click this option and nothing happens, your current plan does not include this feature. Please upgrade your plan to access it.
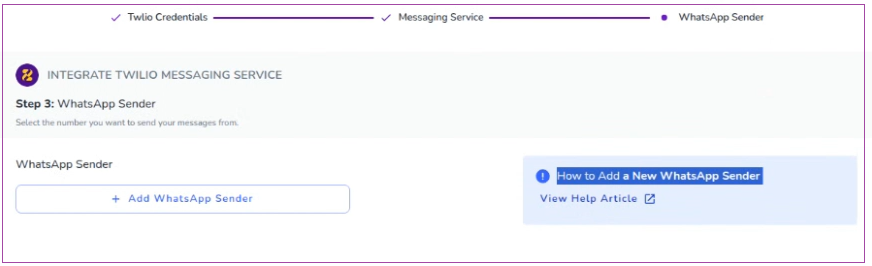
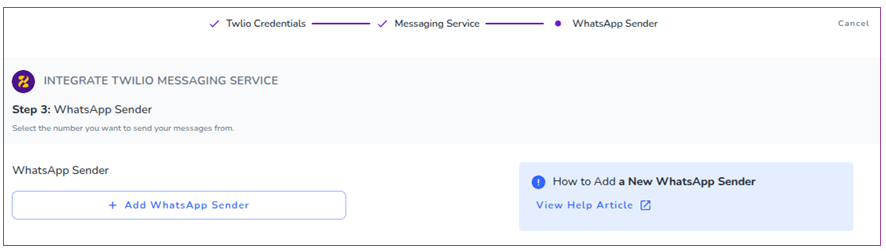
Next, select the WhatsApp-enabled phone number you want to use for guest communications.
If you already have an approved WhatsApp Sender:
Open the WhatsApp Sender dropdown.
Select the WhatsApp-enabled phone number you want to use for guest communications.
Click Complete.
Note: Only WhatsApp sender numbers associated with the selected Messaging Service will be displayed. If no sender appears, ensure that a WhatsApp sender has been added and approved in your Twilio account.
Log in to your Twilio Console.
Go to Messaging → Services → Senders → WhatsApp Senders.
Select Add a WhatsApp Sender.
Follow Twilio's setup process and provide the required business and WhatsApp information.
Submit the sender for approval.
Once approved, return to Zeevou and select the sender from the WhatsApp Sender dropdown.
For the latest sender-registration requirements, see Twilio's WhatsApp Sender documentation.
Once approved, the new WhatsApp sender will be available for use in your integrations.
Integration Complete
Once the setup is complete, Zeevou will use the selected Twilio Messaging Service and WhatsApp sender number to send WhatsApp messages to guests through your connected Twilio account.
Now, let's make sure your other guest communication details are ready too.
