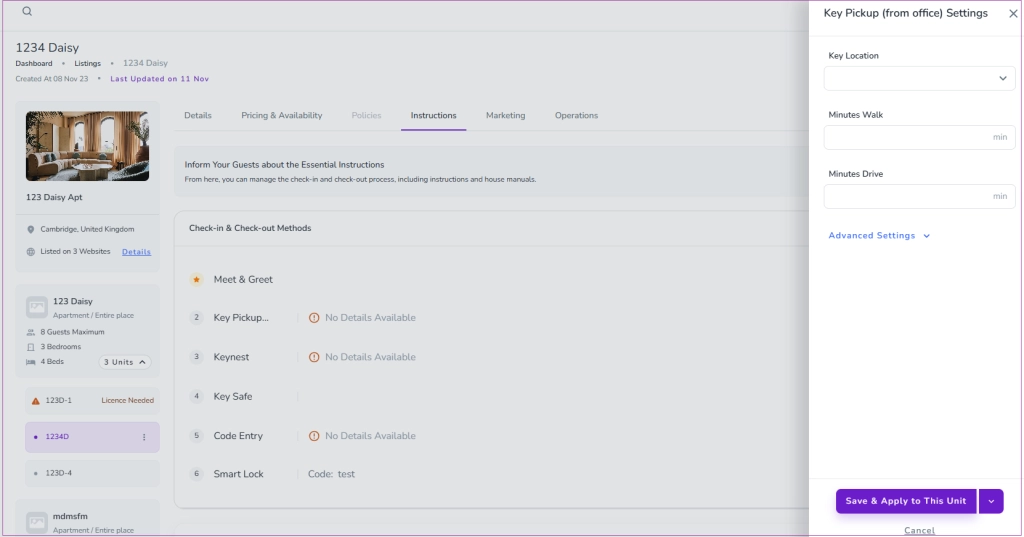
Some hosts may want to keep the key in a store or office close to their property so the guest can pick it up personally. To manage this information for your desired property, go to Listings -> Units -> Instructions tab.
On the Check-in & Check-out Methods card, click the three dots and select Modify Settings. Then a drawer opens in which you can select Key Location, and insert the Minutes Walk and Drive.
Finally, click Save& Apply to This Unit. You can also click the arrow to select your desired Units.
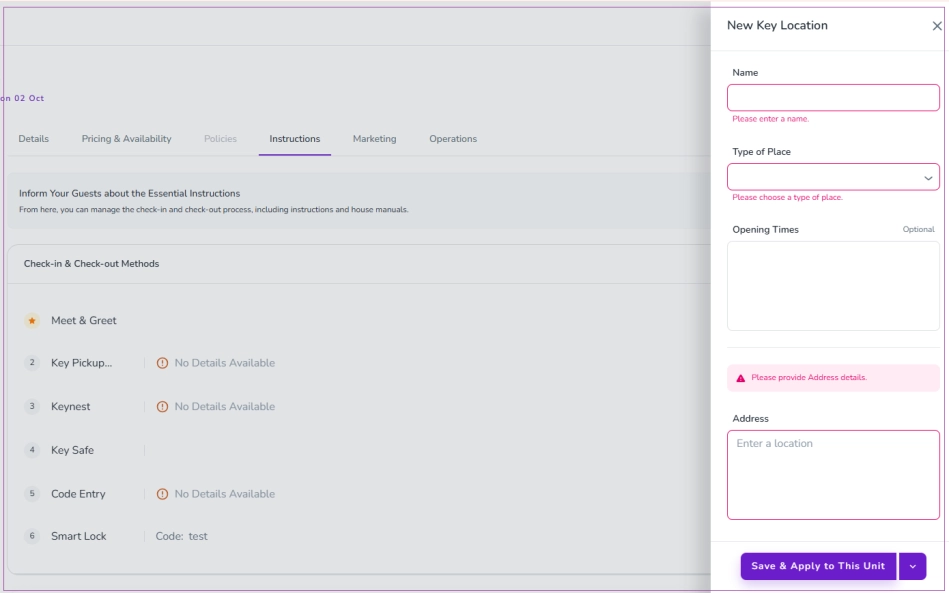
Note: For Advanced Settings, you can click Create New Key Location. Then, a drawer opens in which you should enter a Name, Type of Place and Address. Opening Times are optional to enter. Finally, click Save & Apply to This Unit.
This information will be sent to the guest with the check-in instructions via Automated messages.
Please note that this section is just to let the guest know the location of the key and does not update the Keynest store or Key Status if Keynest is integrated.
When the check-in type is set to Key Safe, and the access code is overridden on a booking, the system automatically updates the key safe code on that specific booking. This is expected behavior.
As a result, the key safe code shown in the automated messages will reflect the manually updated access code.
If the access code hasn’t been overridden at the booking level, the system pulls the code from the unit level instead. If the unit-level code is updated, all future bookings for that unit will inherit the new code.
Note that you can use the @accesscode variable in your messages. This ensures guests always receive the correct, up-to-date code—whether it's coming from the booking or unit level.
To change the lockbox code in Zeevou, follow these steps:
Go to the Listing page.
Select the relevant Unit.
Click the Instructions tab.
Scroll down to the Smart Lock section.
Click Modify Settings.
Update the Code field with the new lockbox code.
Save your changes.
Your updated code will now be applied to the lockbox settings for that unit.
Improve your guest experience by adding photos to your check-in guide by uploading images to provide clearer, visual instructions for your vacation rental guests.
Under the Instructions tab, locate the Instructions card.
Click Upload Check-in Guide and select your desired photo.
From the drop-down menu, choose one of the following options:
Apply to this Unit
All Units in This Unit Type
All Units in This Listing
Click Save to confirm.
To manually send the check-in link for an existing booking:
In Zeevou, click Inbox from the left-hand menu.
Open the guest’s conversation.
If no conversation exists, click the + icon next to Inbox → select Booking-Related, enter the guest’s name and booking number, then click Create.
In the middle panel, choose Email under Send Via.
Click into the message field. You can either type your message manually or click the template icon to insert the Check-in Link template.
Click the purple Send button.
