Rates & Availability Calendar offers key features, including viewing unit availability, editing rate and restrictions, and navigating through dates easily. The focus is on empowering you to quickly access and adjust rate details, ensuring you can optimise occupancy and revenue with minimal effort.
Log into your Zeevou account.
Navigate to Calendar on the main menu.
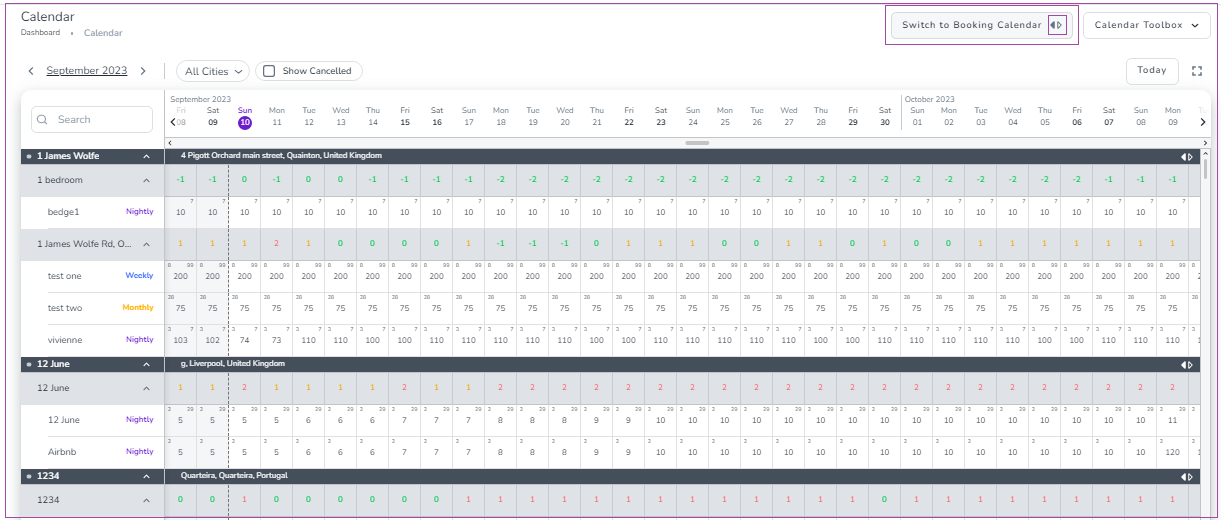
Click Switch to R&A Calendar to view your properties, unit types, rate plans, rates, and availability.
Unit Availability: The number shows the available rooms and its colour shows the occupancy percentage.
Rate Plans: By default, only Nightly Rate Plans are shown. If you create Weekly or Monthly Rate Plans, they will be displayed in the Rates & Availability Calendar.
Rate Display:
The middle number in each box shows the rate for that plan.
The top left number shows the minimum stay required.
The top right number shows the maximum stay allowed.
When minimum stay is 1 and maximum stay is 999, the number will not be displayed in the calendar.
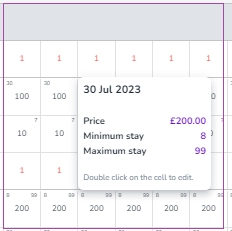
Details: Hover over a cell to see more details.
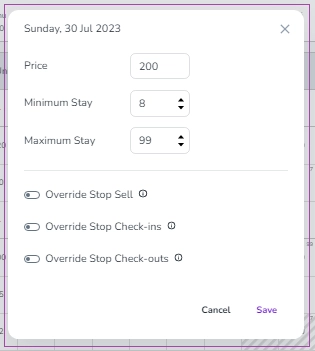
Editing: Double-click a cell to view and edit its details.
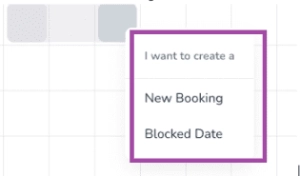
Drag and Edit: Drag across your preferred dates to reveal the options to create a New Booking or set Blocked Dates. Selecting an option will open a side panel where you can complete the necessary details and save your changes.
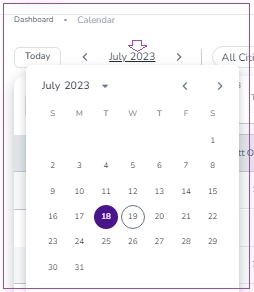
Date Picker: Click the date picker in the top left to jump to a specific day, month, or year.
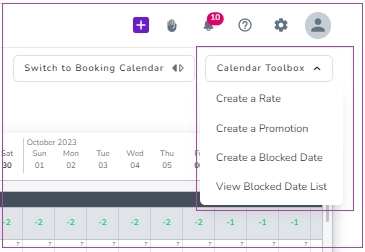
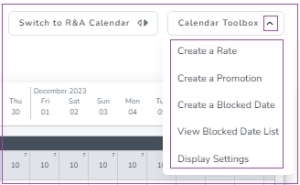
Calendar Toolbox: Click Calendar Toolbox in the top right corner to Create Rates, Create a Promotion, Create a Blocked Date, View Blocked Date List, or Display Settings.
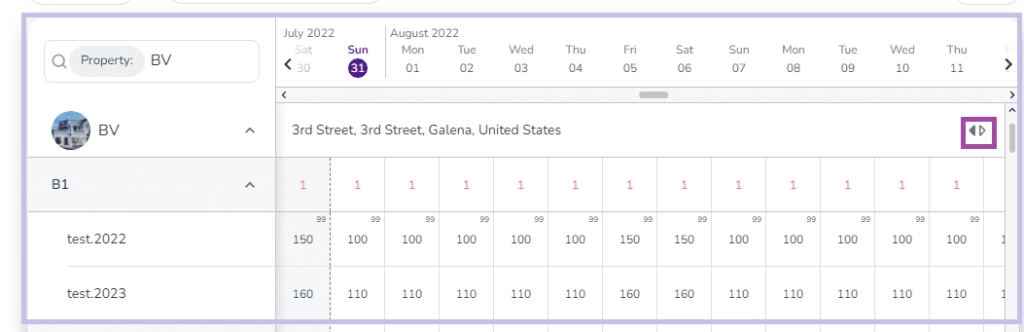
In the Rate and Availability Calendar you have access to a list of your Properties, Unit Types, Rate Plans, Rates, and Availability.
In the first line, in front of the Unit Type name, you can see the availability of the unit type. The availability colour is indicative of that unit type’s occupancy percentage.
By default, you have only Nightly Rate Plans. However, if you have activated Weekly and Monthly Rate Plans and created them, they will be also shown under the Unit Type name.
Each cell of the calendar has some numbers:
The number in the middle of each box is the Rate set for that Rate Plan.
The top left number in each box is the Min Stay of that Rate Plan.
The top right number in each box is the Max Stay of that Rate Plan.
Note that if you set the Min Stay as 1 and the Max Stay as 999, it won’t be shown in the calendar.
If you hover over each cell, a window will appear to show its details.
If you double-click the cell, you can view and edit those details.
On the top left of the Rate & Availability page, if you click the date picker, a pop-up will appear that lets you jump to your preferred day, month, and year.
On the top right of the Rate & Availability page, if you click the arrow of Calendar Toolbox, you can select Create a Rate, Promotion, Blocked Date or View Blocked Date List.
In addition, by dragging on your preferred boxes, a pop-up will appear that allows you to change the Price, Min Stay, and Max Stay of the Rate Plan. When you insert the new data, you should click Save to implement the modifications.
Why isn't a unit type shown in the Rates and Availability Calendar?
When you create a new unit type, you should make sure that it has at least one unit under that. Otherwise, the rates can not be pushed to OTAs and the website. (You can't map the unit type.)
So go to Listings-> Unit Type and choose the unit type. Then in the unit section click +Add Unit.
If you click the arrow of the Calendar Toolbox on the top right, a box opens in which you can Create a Rate, a Promotion, a Blocked Date, View Blocked Date List, or Display Settings. When you click Create a Promotion, you will be redirected to Promotion Dashboard.
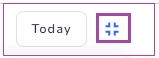
You can switch your page to full screen by clicking the icon next to Today box.
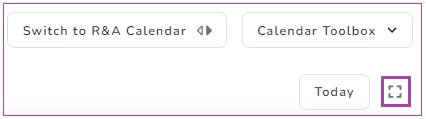
Note 1: You can exit full screen by clicking again on the same icon.
Note 2: In order to change the status of your booking, click the status of the booking in the overview, and a box opens for you to change the status to Checked-in, Checked-out, Cancelled or No Show on the Calendar.
Note 3: Marking a booking as checked out does not change the availability. You will need to modify the booking to change the dates .

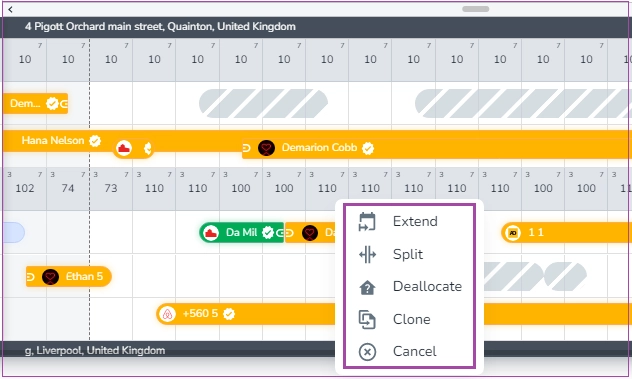
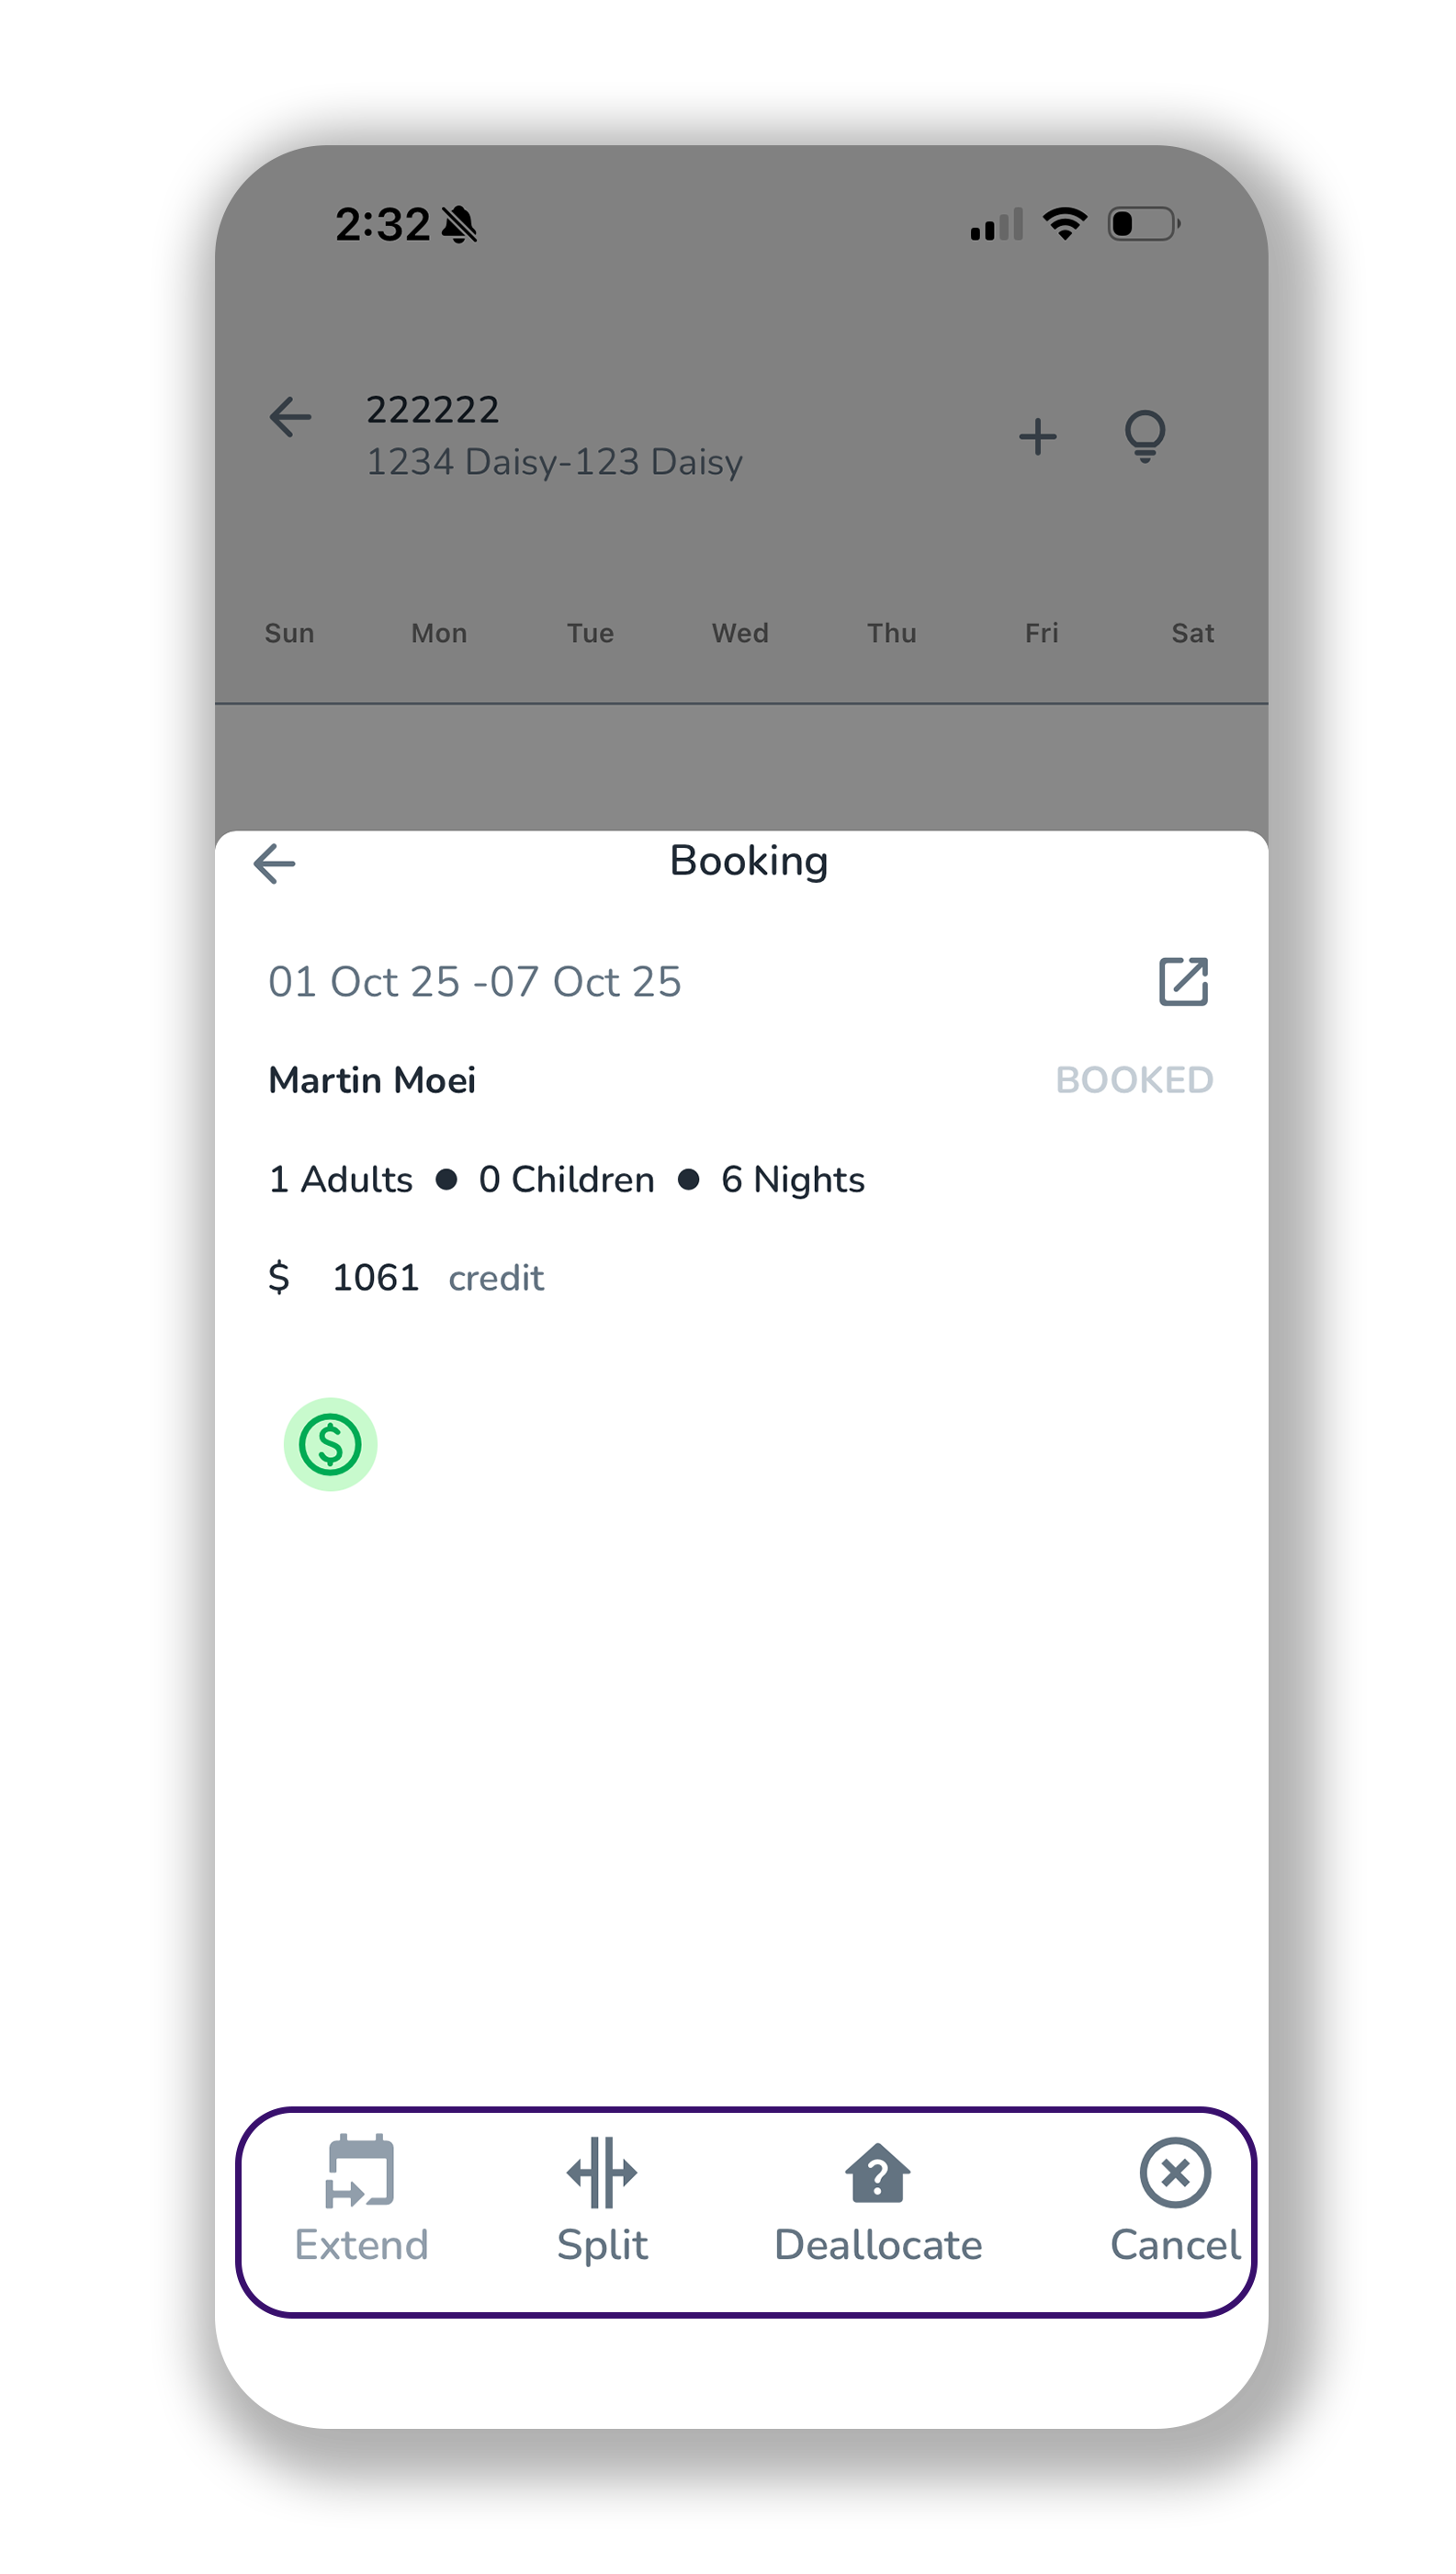
In order to take action on a booking, you can either open the Overview and click one of the actions at the bottom:
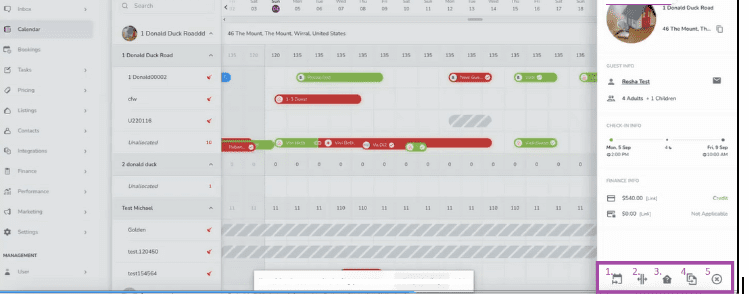
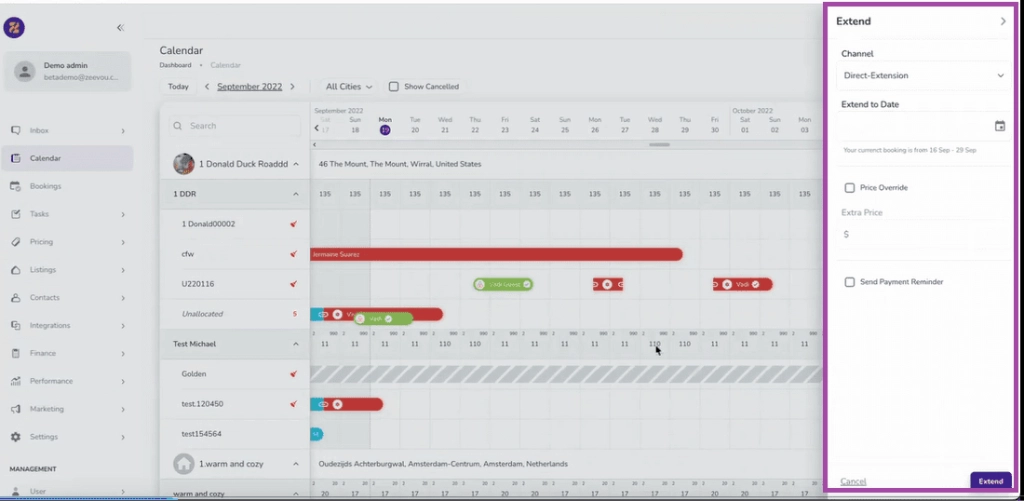
Extend
Split
Deallocate
Clone
Cancel
Or you can right-click any bookings to choose the desired actions on the booking calendar.
When the action is selected and clicked, its corresponding window will appear and you will have to fill out the related fields.
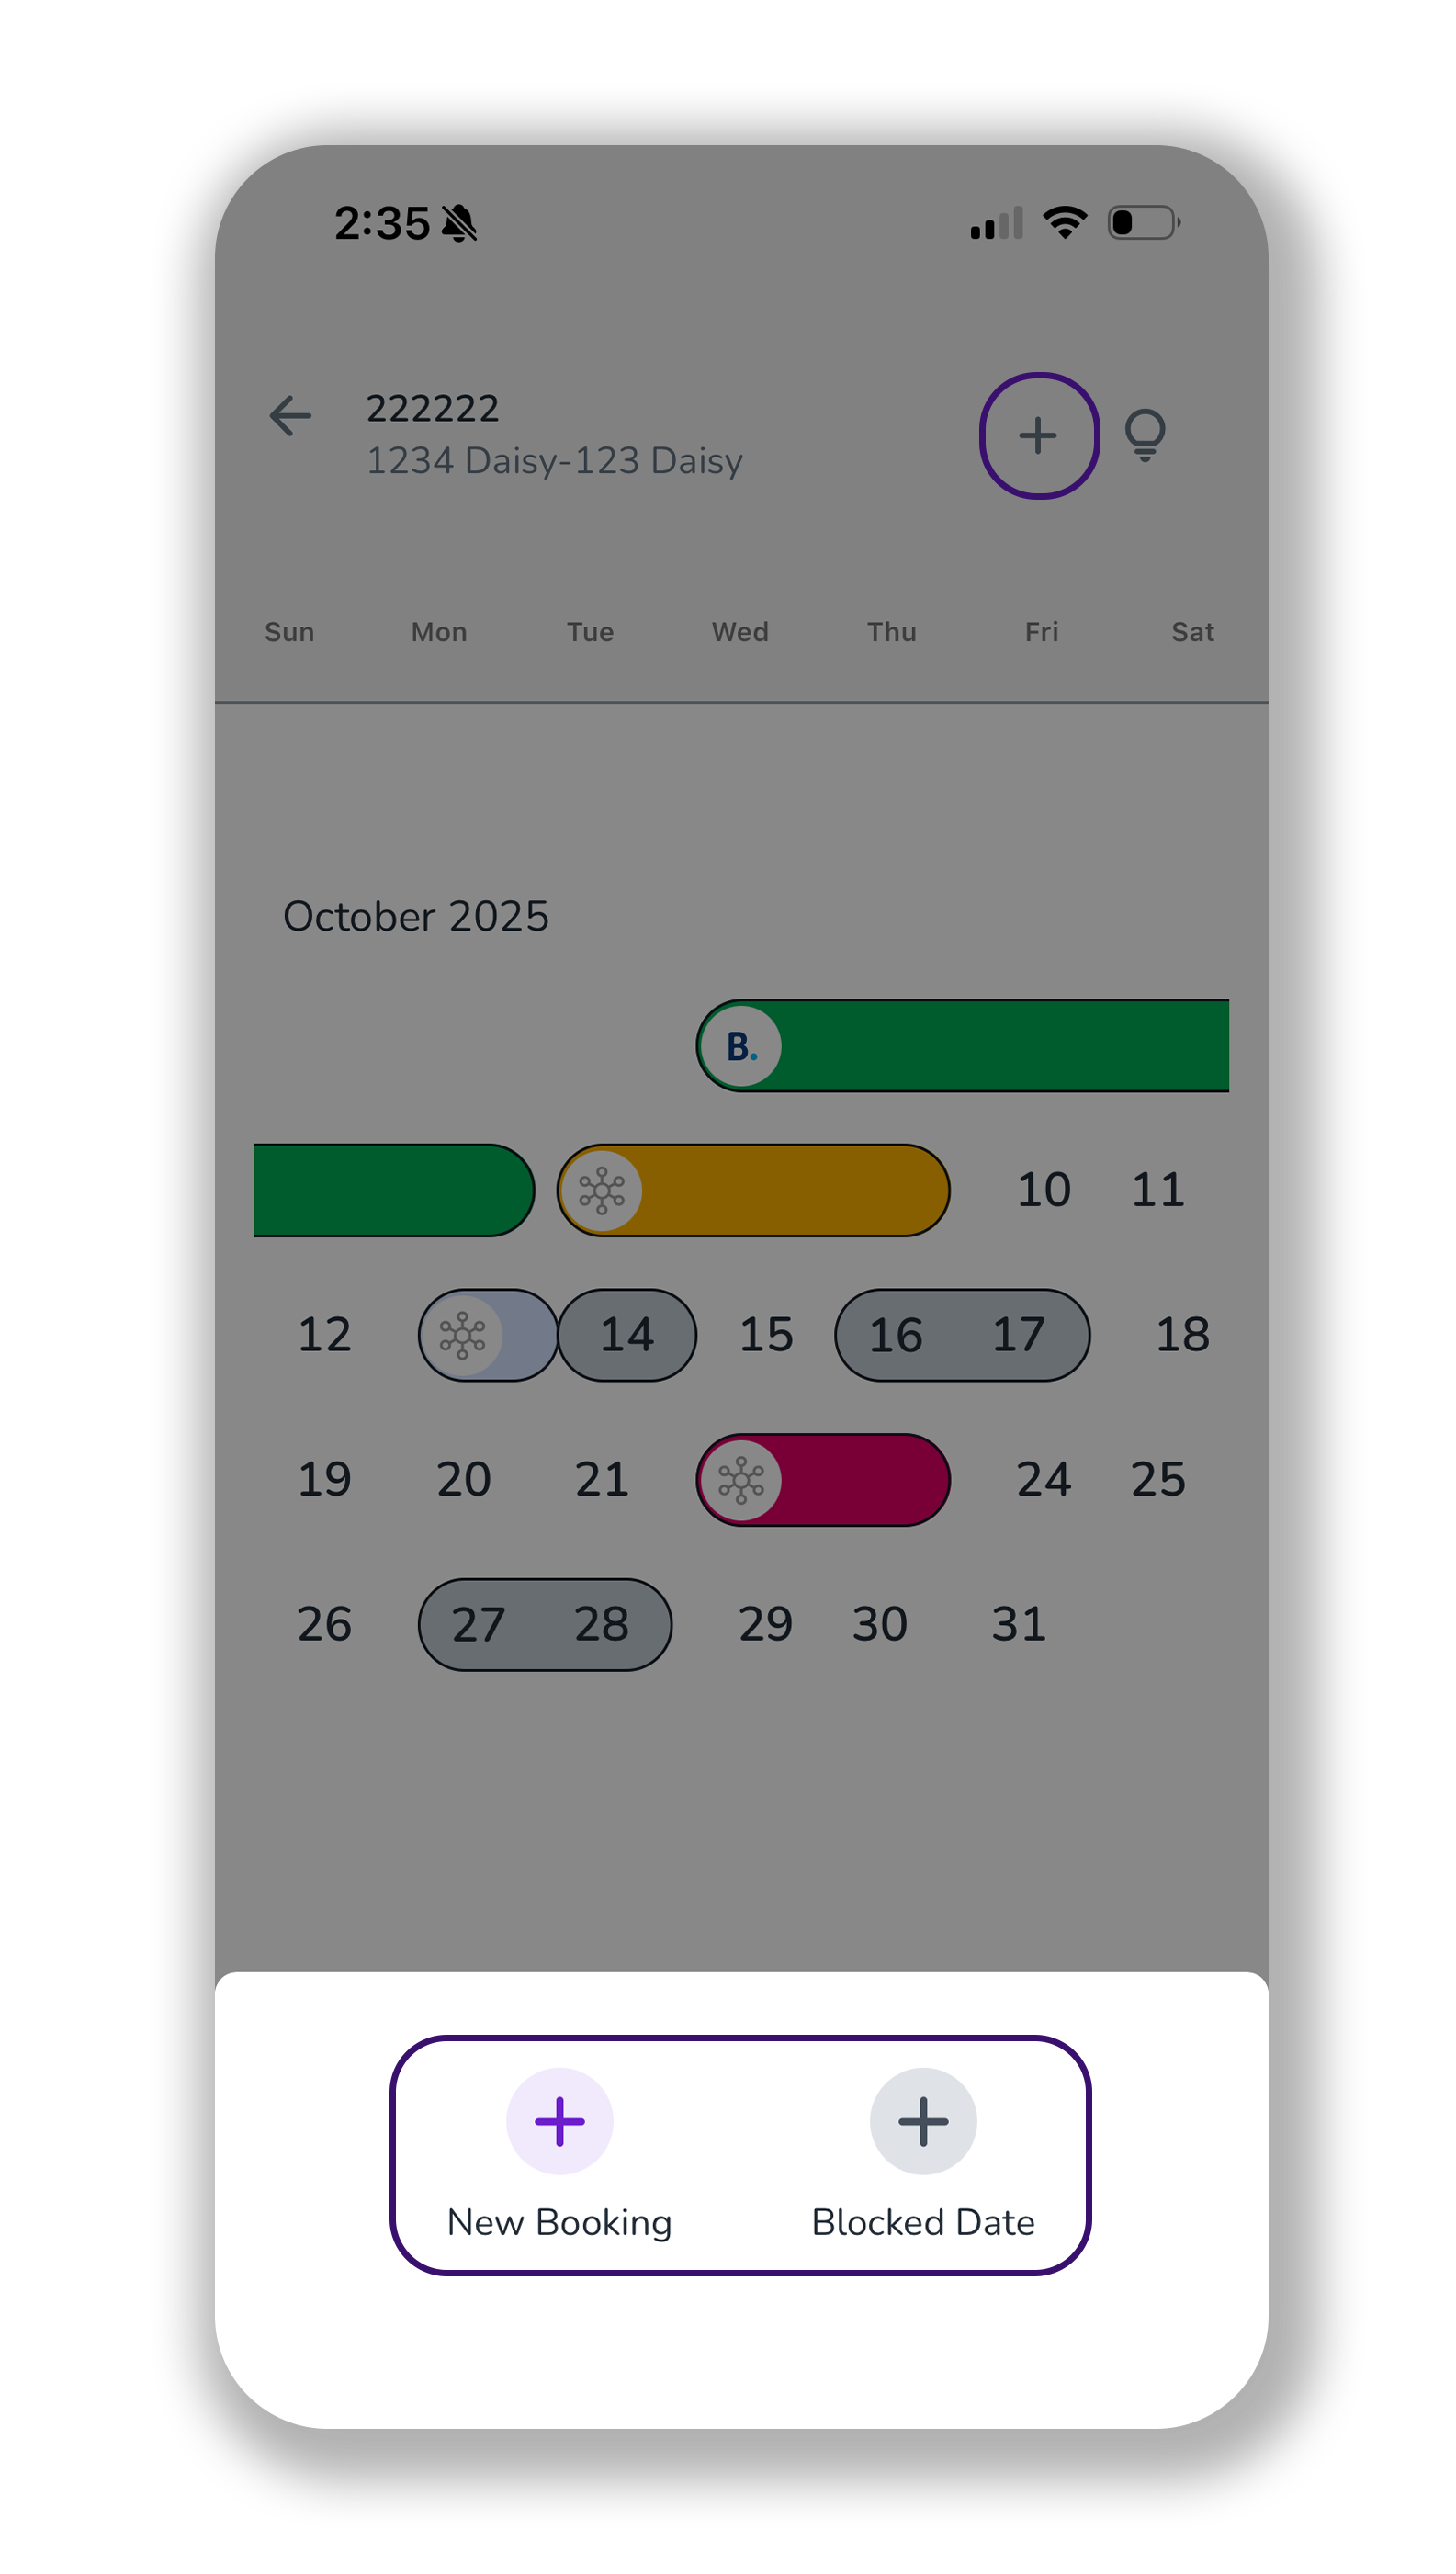
You can select a date range on the booking calendar to either create a booking or block a date. When you click on New Booking or Blocked Date, a window will appear to proceed with the new booking or blocked date creation:
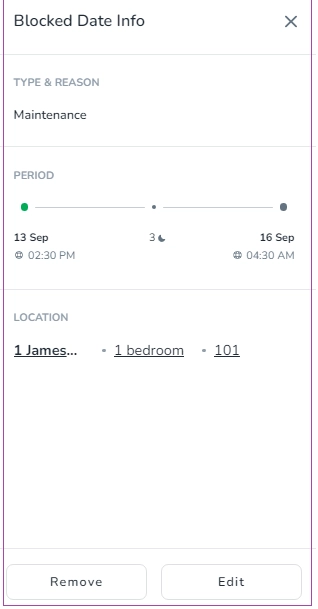
Note: When you hover on a Blocked Date, it shows the blocked date type and the number of nights. If you click the blocked date, a drawer will open in which you can Remove or Edit the Blocked Date Info.
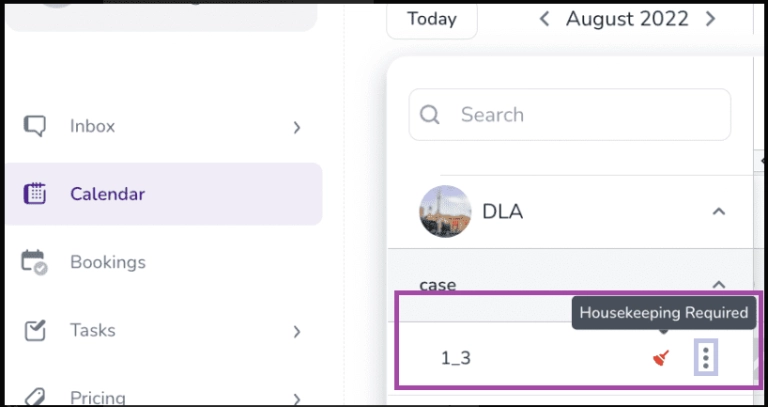
If you hover over the sweeper sign, it will show Housekeeping Required; you or the Housekeeper can click the three dots to change it to Housekeeping Completed and vice versa for the units requiring housekeeping:
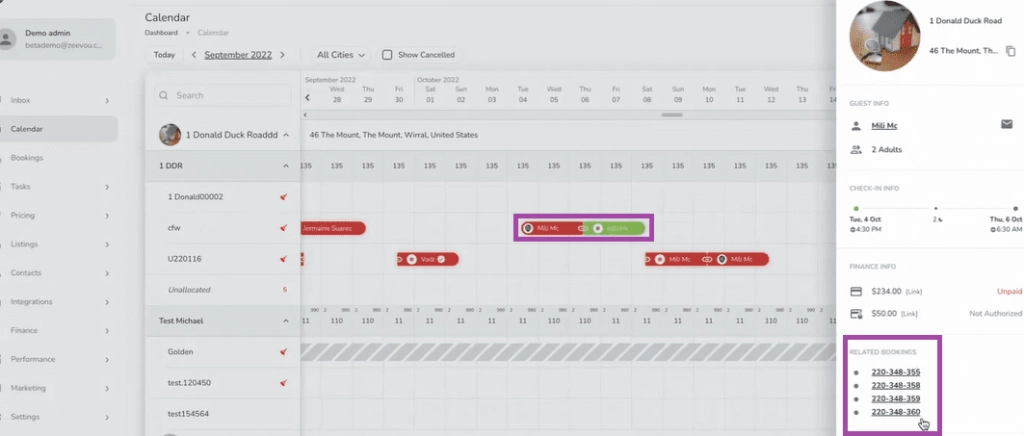
If you click any bookings which have taken one of the actions once or more on the Booking Calendar (splited or extended), the list of related bookings will be displayed on booking Overview. Each booking can be redirected to Zeevou Hub by clicking it.
You can scroll down All Cities in order to select your desired city.
You can also narrow down your search by selecting Property, Unit Type, Unit, or Rate Plan from the drop-down menu.

Specific Property:
After selecting your desired property, you can switch from the Booking Calendar to the Rate & Availability Calendar and vice versa by clicking on the front and back arrows:
You can also switch from the Booking Calendar to the Rate & Availability Calendar by clicking any of them you like:

In addition to the Multi-Unit Calendar, you can switch to the Single-Unit Calendar View for a more focused way to review bookings, blocked dates, and restrictions for one unit at a time.
By default, the calendar remains in Multi-Unit mode. To switch to Single-Unit Calendar View, simply use the toggle at the top-right corner of the calendar. You can then easily switch between units using the dropdown at the top.

Accessing the Calendar
Tap the Calendar icon at the bottom-left of the screen.
You’ll be directed to the Booking Calendar (BETA) interface.
Searching Properties
Use the search icon (🔍) in the top-right corner to find a specific property or unit quickly.
Property List
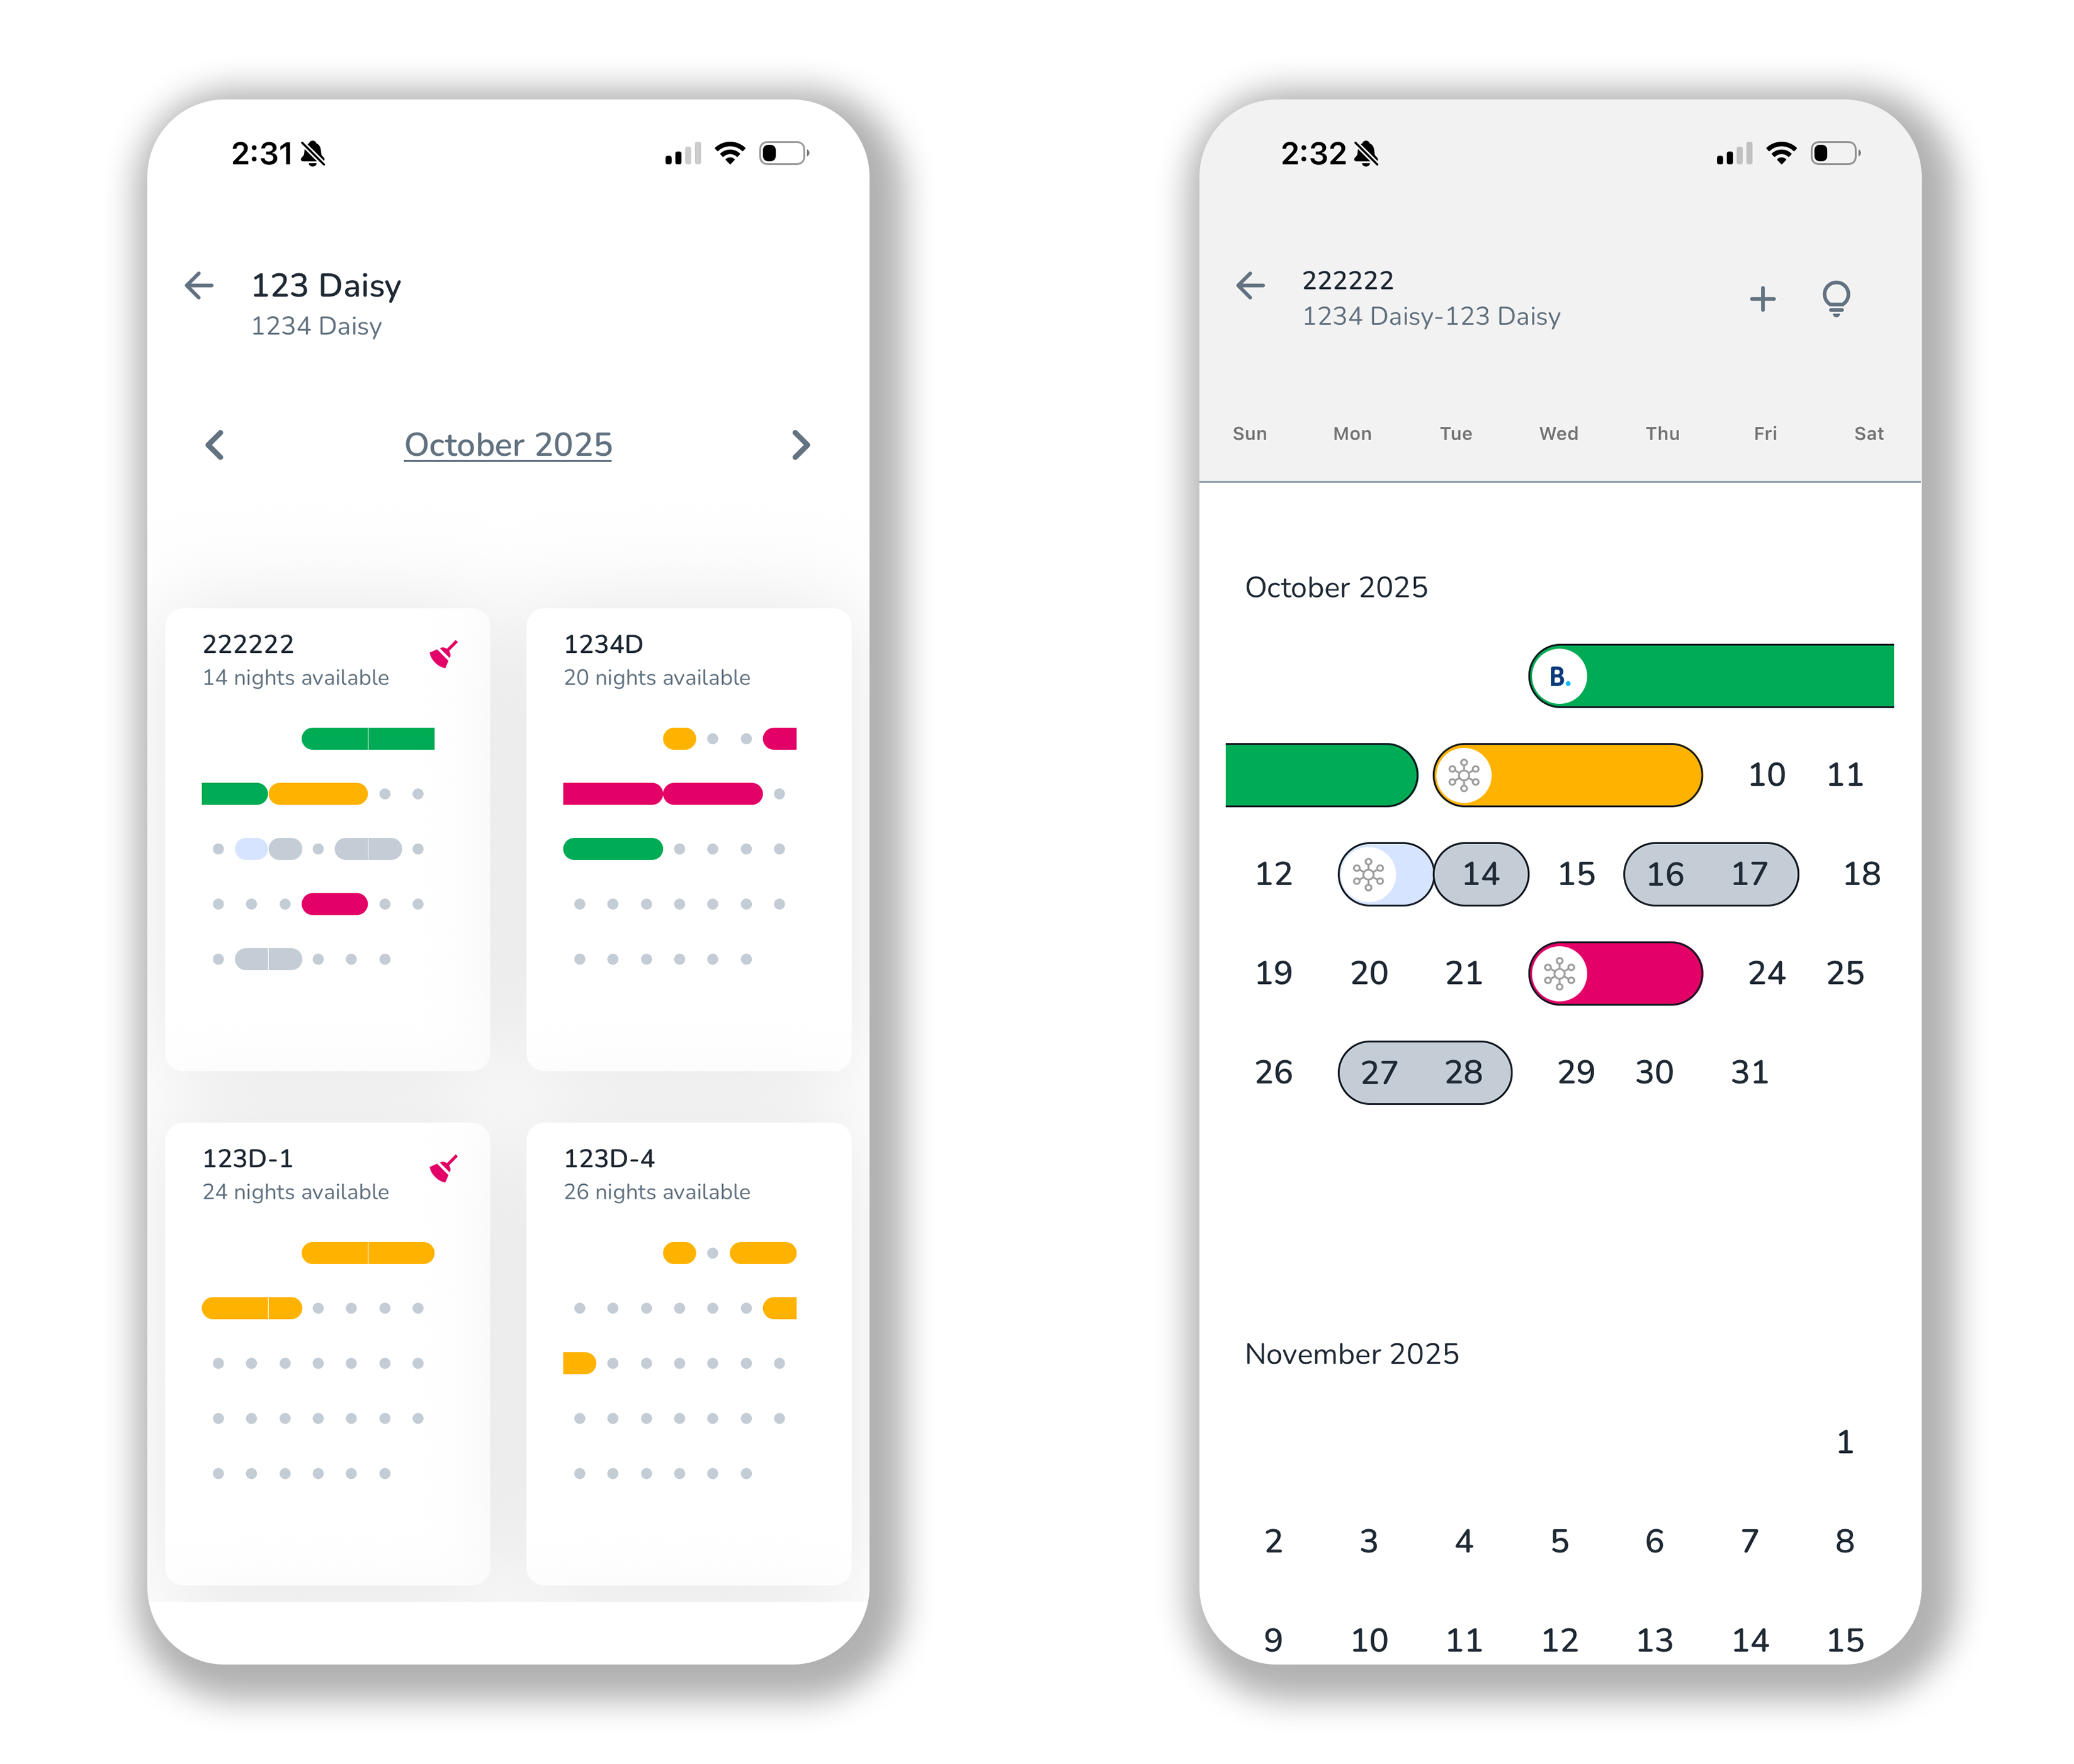
The screen displays a list of properties and units grouped under property names.
Click on each listing to view its Unit type calendar. The same applies to individual units.
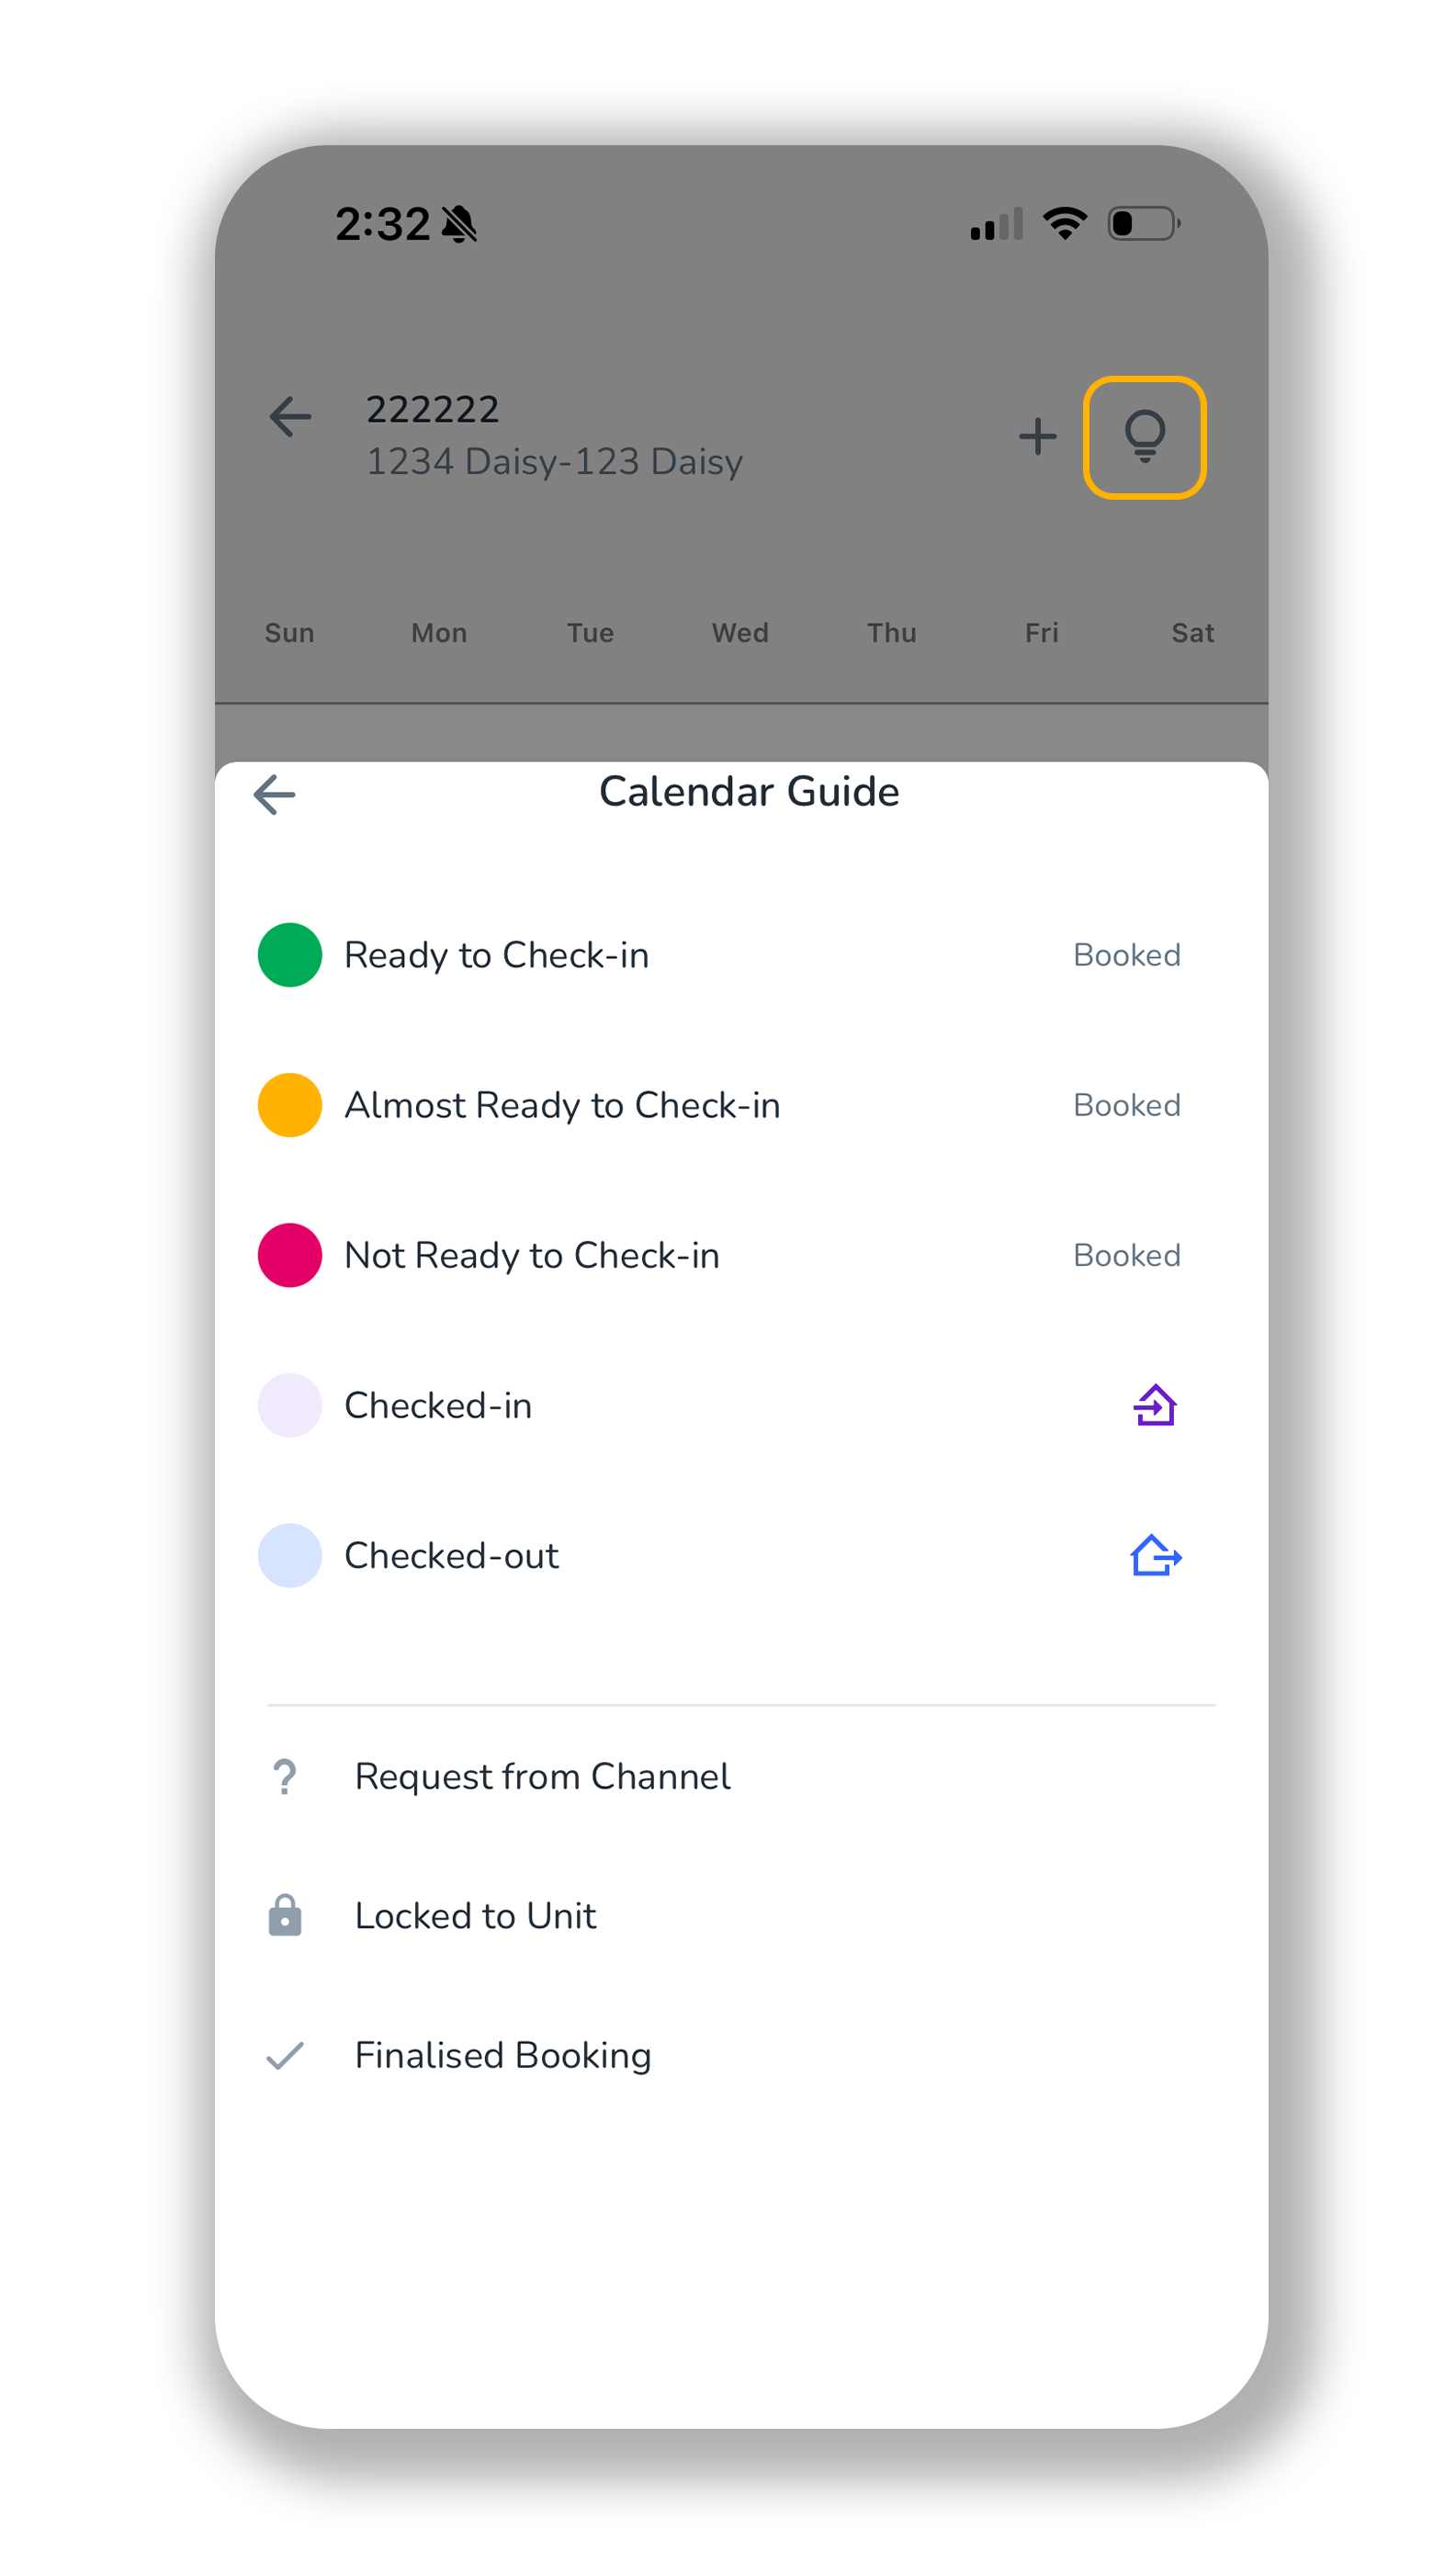
When you tap on the Guide icon, a window pops up which shows the colours of various booking statuses.
To view its details, click the booking and check the actions available at the bottom of the page.
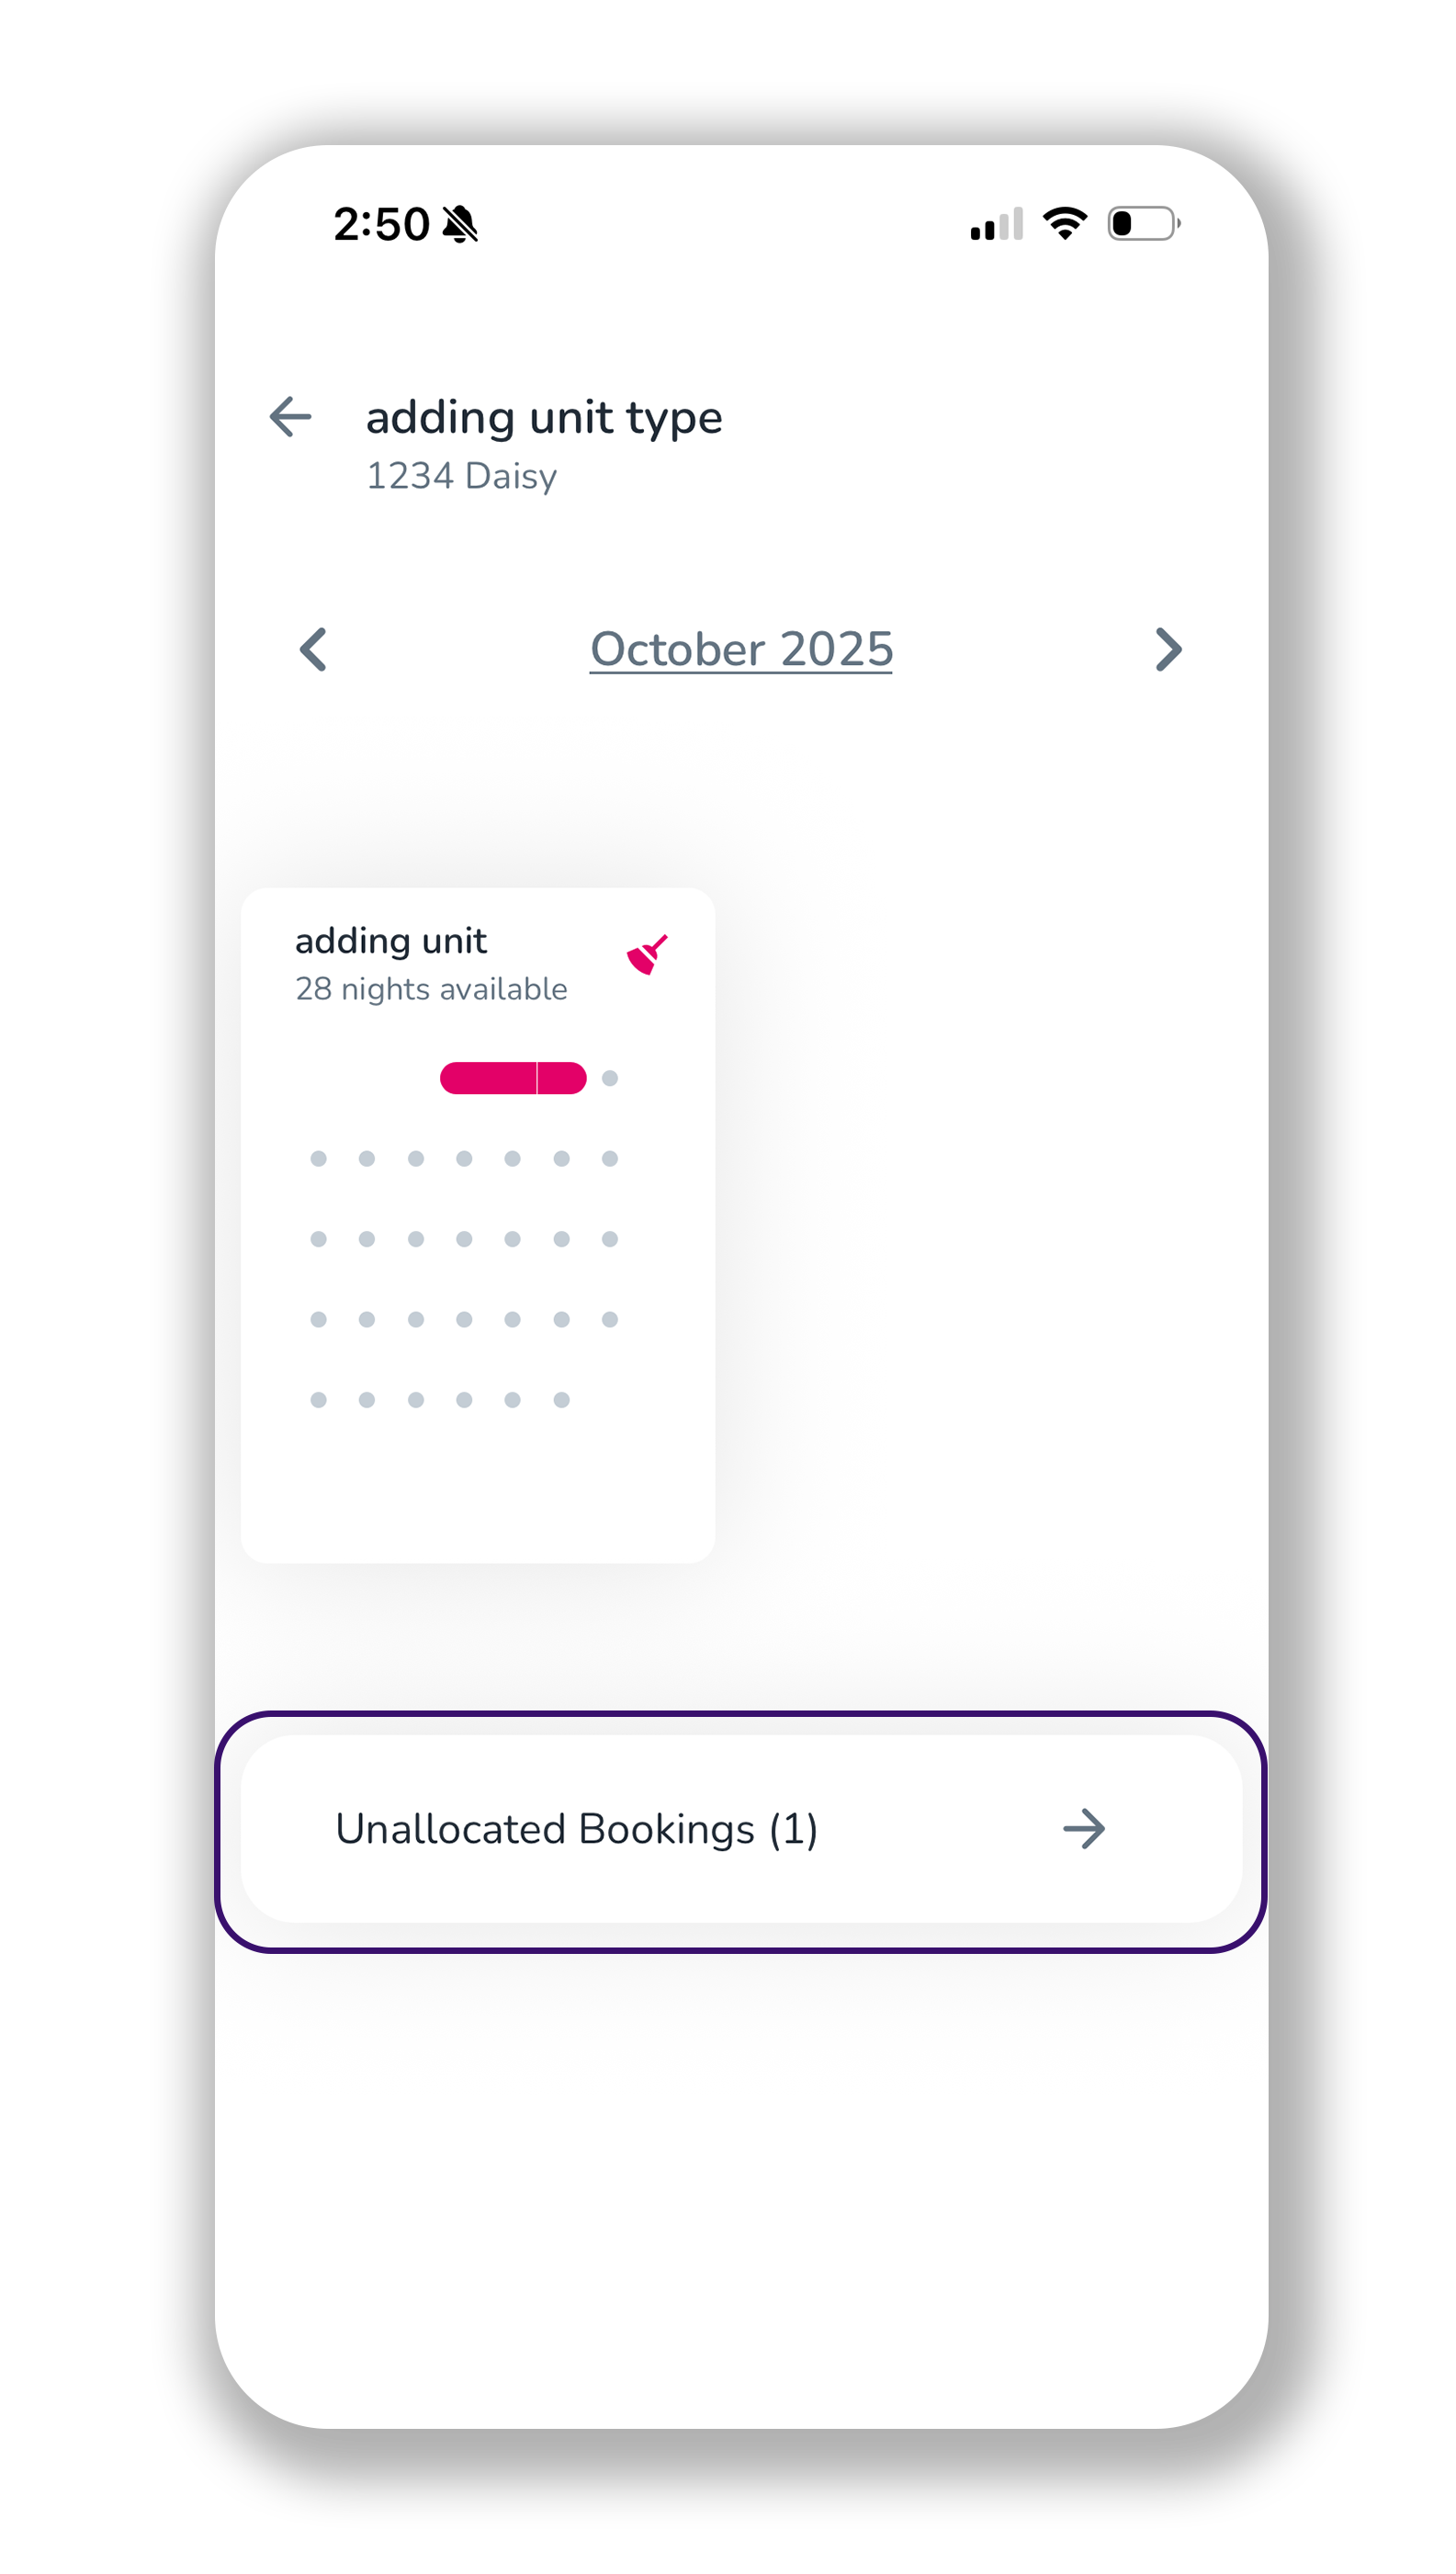
If you tap on a listing, the list of its unit types is displayed. If you click each unit type, the list of its units and unallocated bookings will be shown.
You can click plus(+) icon to Create a New Booking or Block a Date.