When you create a new Brand, all settings from your first Brand are automatically duplicated, and a website is generated for the new Brand.
To create a new Brand:
Click the Profile icon and select Account.
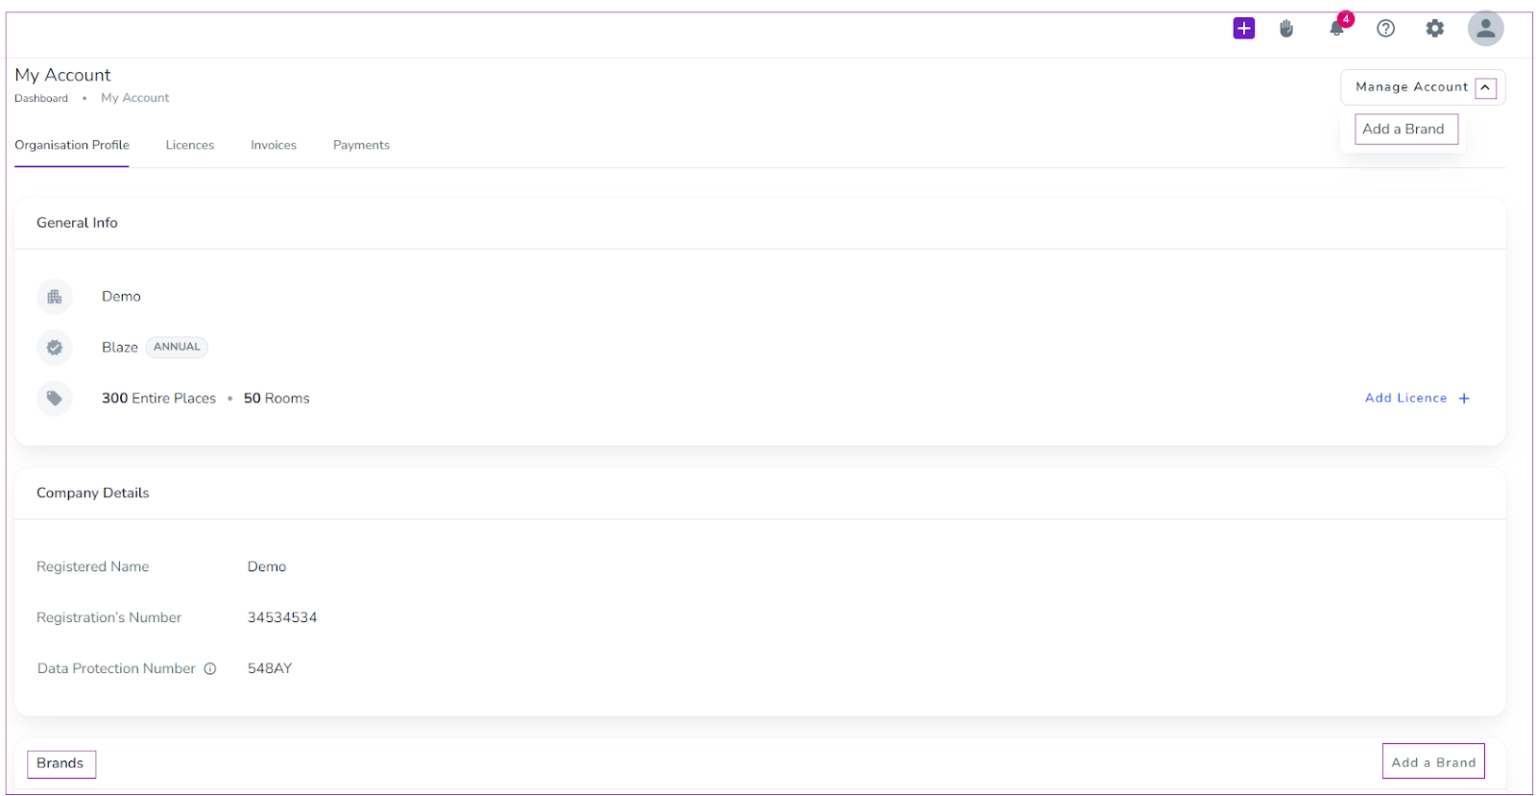
On the My Account dashboard, click Manage Account.
Select Add a Brand.
Alternatively, you can:
Go to the Brands card on the My Account dashboard.
Click Add a Brand.
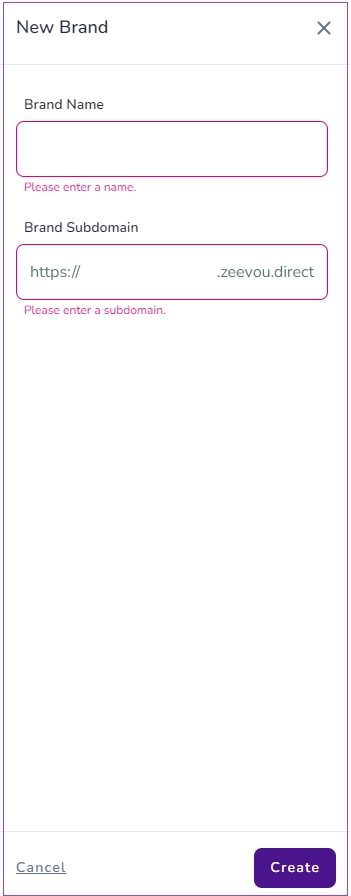
A drawer will open where you need to:
Enter the Brand name.
Enter the subdomain.
Click Create.
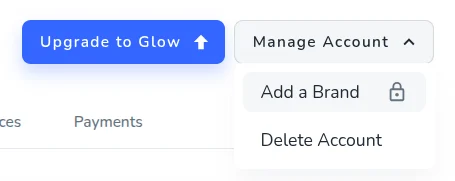
Note: Free users plan cannot create more than one Brand. If a Free user clicks Manage Account → Add a Brand, a pop-up message will appear prompting them to upgrade to Advanced in order to unlock multiple Brands.

To manage your Brand settings:
Go to My Account dashboard.
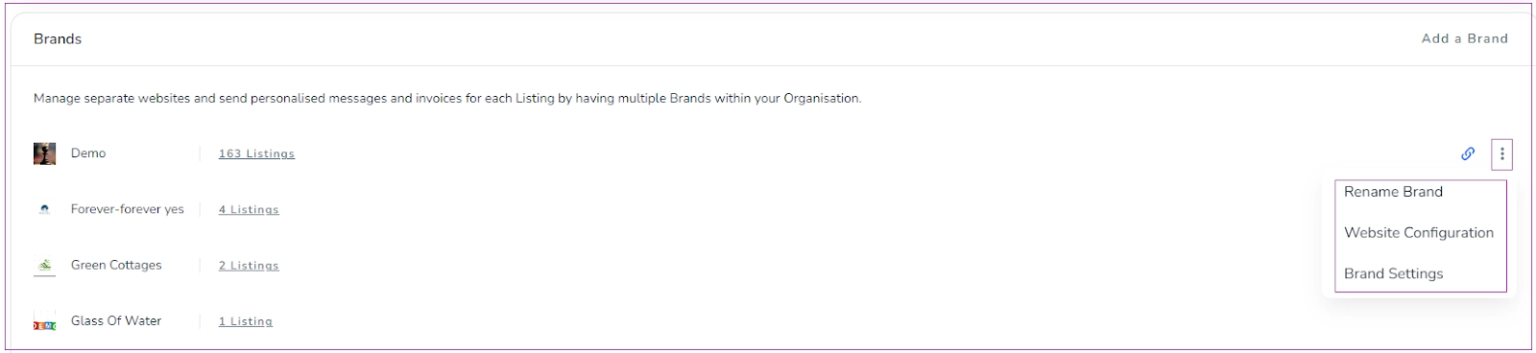
Locate the Brands card.
Select your desired Brand.
Click the three dots (⋮).
From here, you can choose:
Rename Brand
Website Configuration
Brand Settings
You can assign a listing to one or more Brands by following these steps:
Go to Listings.
Open the listing you want to update.
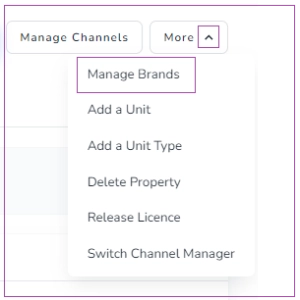
Click More.
Select Manage Brands.
A drawer will open where you can:
Select one or more Brands to assign the listing to.
Publish the listing to the associated Brand website(s).
Set a default Brand (used for bookings that come from Channels).
Finally, click Save to apply the changes.