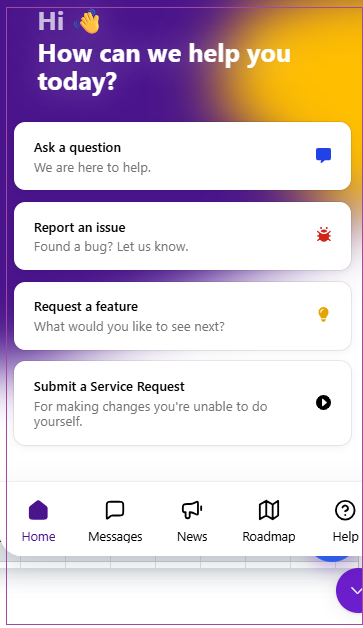
At the bottom right of the screen, you have the Messages button. When you click on the Message button, a window will open in which you can ask a question, report an issue, request a feature, or submit a Service Request.

There are also five icons on the top right of the landing page (Left to Right):
When you hover over the Plus icon (+), the Create a Booking name appears.

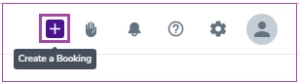
If you click the plus icon (+), a box will open in which you can create a booking.

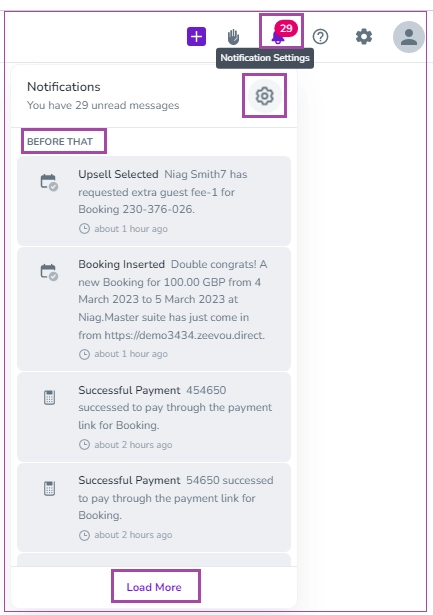
If you click the Bell icon, the box of Notifications will open. You can view the recent ones and click Before That to view older notifications. If you hover over the Settings icon in the box, the Notification Settings box will appear. You can click it for configuring the settings.

When you click the Question icon, you are redirected to Zeevou Support to find the help articles and FAQs.
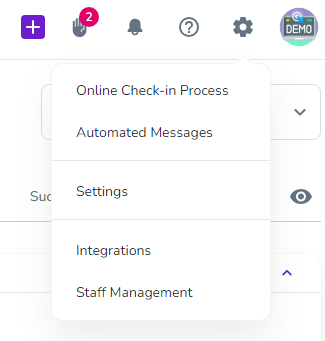
When you click the Settings icon, a box will open up for you to configure the settings in the following areas:
Managing your organisationβs settings in Zeevou is essential for ensuring that your property management operations run smoothly and efficiently. To access and adjust these settings:
Click the gear icon on your Zeevou dashboard.
Click Settings from the menu.
Note: If you run multiple brands, select your desired brand before making adjustments.
1. Contact Details
Manage your business representation:
Contact Info: Update your web address, email, phone number, and physical address. These details appear on your Direct Booking Websites and Automated Messages.
Social Media: Add or update your social media links.
Note: You can replace the direct booking website with your own website.
2. Booking
Set reservation conditions:
Check-in Ready: Navigate to Manage Conditions to define your desired conditions for marking a booking as Ready for Check-in, which can be used as a trigger to release check-in instructions/access codes.
Auto Check-out: Enable the Auto Check-out toggle to automatically update the Booking status to Checked-out.
3. Finance
Configure your financial settings across four areas via separate cards:
Custom Transaction Cost: Apply a custom cost for credit card payments by entering an average percentage fee.
Payment Methods: Select your preferred payment methods for Bookings by enabling the toggles of Bank Transfer and/or Card.
Note that payments made with cards will go through your integrated payment gateway for secure and seamless transactions. Note that you can edit
Security Deposit Collection Methods: Select your preferred collection methods for Security Deposit of Bookings.
Invoice: Set your Logo, Slogan, Bank Account Info, and Footer Note to be displayed on your invoices.
Note that you can edit each of them by hovering your desired card and clicking the pencil icon in front of them.
4. Messaging
Adjust communication settings:
Email Signature: Add a signature to appear under your messages.
Inbox Integration: Click on Generate Forwarding Address to create an email automatically ([email protected]) through which you can forward your emails to Zeevou Unified Inbox. For more details, please read Import Your Emails.
General Messages: Here you can specify recipients of general messages, which are messages that are not related to any bookings.
Note: You can configure messaging per brand if you operate more than one brand.
5. Task
Set housekeeping task preferences:
Auto-approval: Enable this to automatically approve tasks submitted by housekeepers.
Mandatory Housekeeping Photos: Require photos of every room before task submission.
6. Localisation
Choose the nights leading into the weekends from the drop-down menu, as the definition of weekends can vary between different countries.
Note: If you manage multiple brands, navigate to Organisation Settings in the left menu on top of brands to access the Localisation tab.

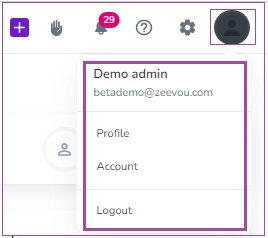
When you click on the Profile icon, a box will pop up in which you can view your logged-in role. You can also click on your Profile or Account to make changes or Logout.
