Having all your communications in one inbox helps ensure you never miss an important message. By forwarding your emails to the Zeevou Unified Inbox, you no longer need to switch between different platforms. Instead, you can manage your emails and guest conversations from a single place.
Email Forwarding is available with the Message Automation module. Once enabled, staff members with the appropriate permissions can generate a unique forwarding email address and manage email forwarding settings.
If Message Automation is not included in your subscription:
The Generate Email Forwarding option is locked for staff members.
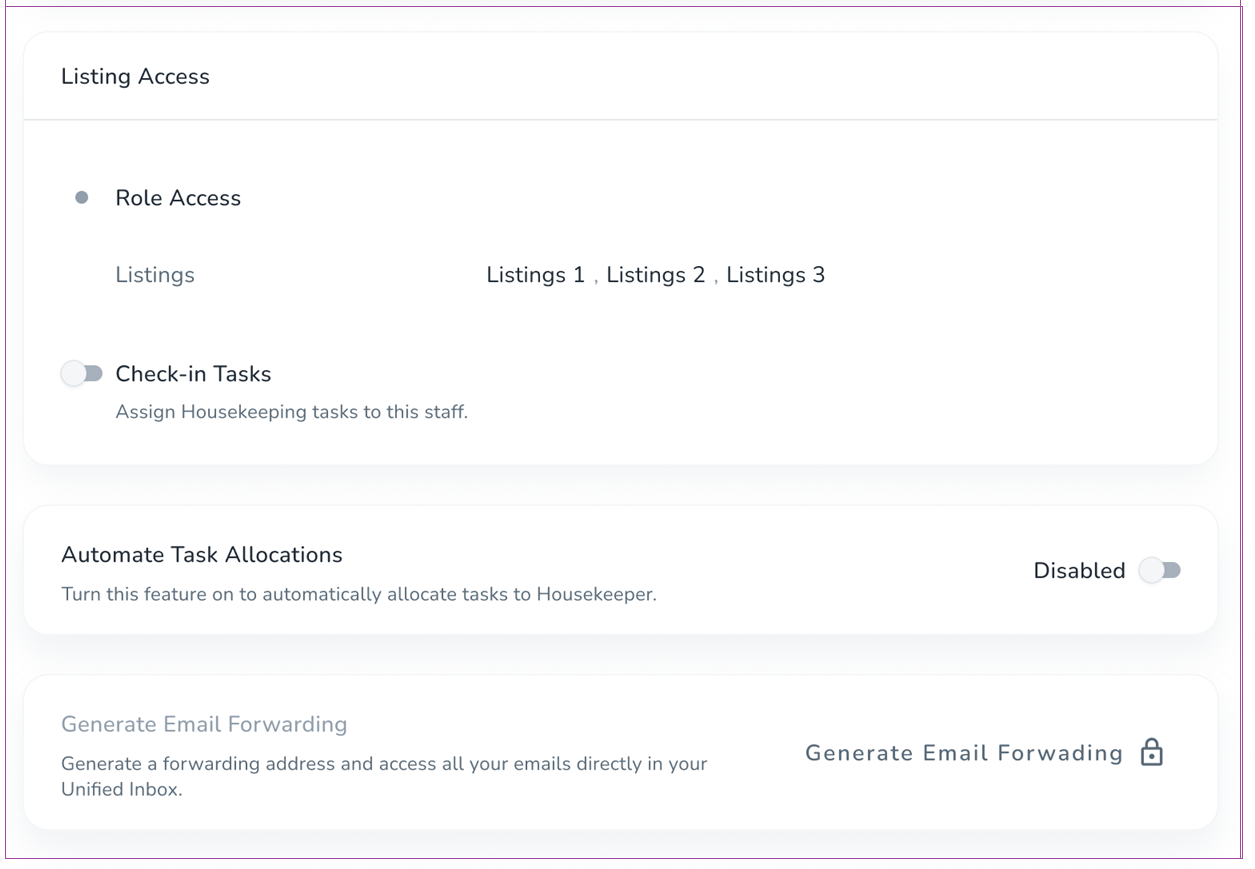
Hover over the lock icon to see the Unlock Email Forwarding tooltip.
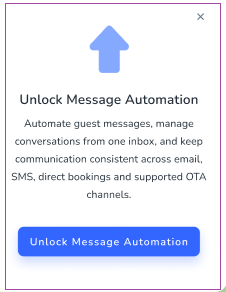
Click the upgrade option to open the upgrade dialogue.
Continue with the upgrade to launch the upgrade wizard with Message Automation pre-selected.
If you cancel the upgrade, you will be returned to the same page.
After Message Automation is enabled:
Staff members can generate a unique forwarding email address from the Generate Email Forwarding card.
The generated forwarding email address is displayed on the card for future use.
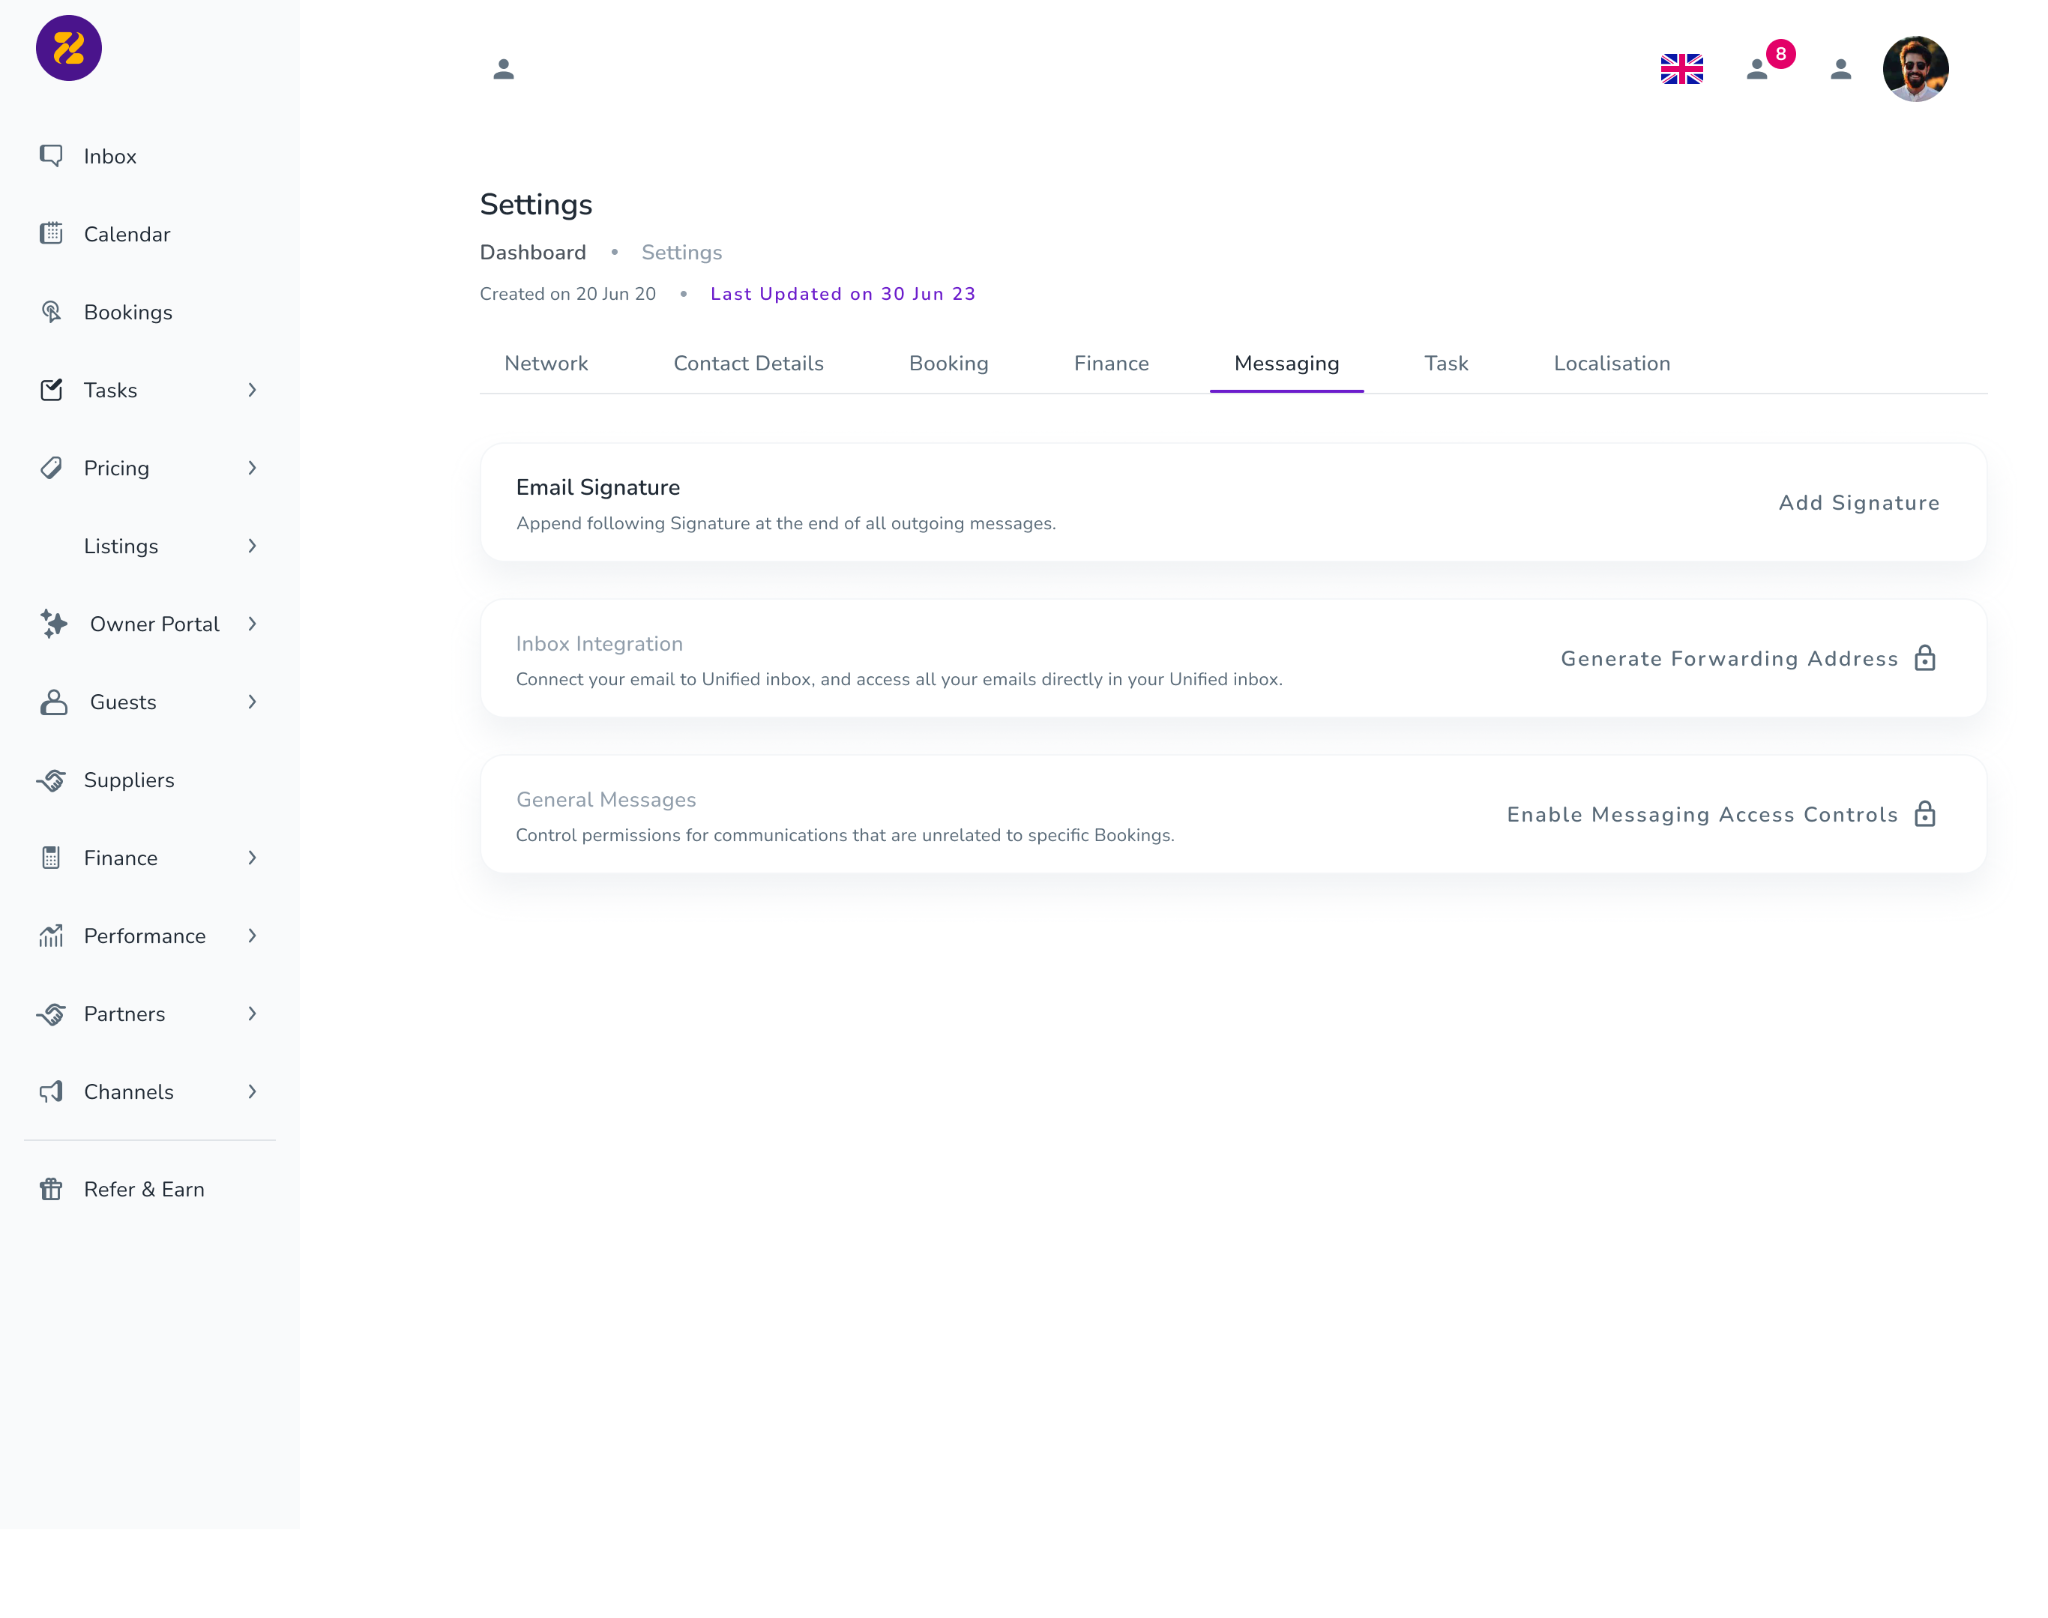
Additional email forwarding settings become available under Settings > Messaging, including:
Inbox Integration – Generate and manage your forwarding email address.
General Messages – Configure messaging access controls and other email forwarding settings.
Note: Email Forwarding is available only with the Message Automation module. Upgrading unlocks the feature without changing your existing settings.
On Your Zeevou Dashboard:
Log into your Zeevou account.
Click the gear icon on your Zeevou dashboard.
Click Settings from the menu.
If you manage multiple brands, choose your desired one.
Go to the Messaging tab.
Under Inbox Integration, click Generate Forwarding Address to create an email automatically ([email protected])
Copy the generated email address.
In Your Business Email Account (which differs from your Zeevou account):
Click the gear icon and then See all settings.
Go to Forwarding and POP/IMAP tab.
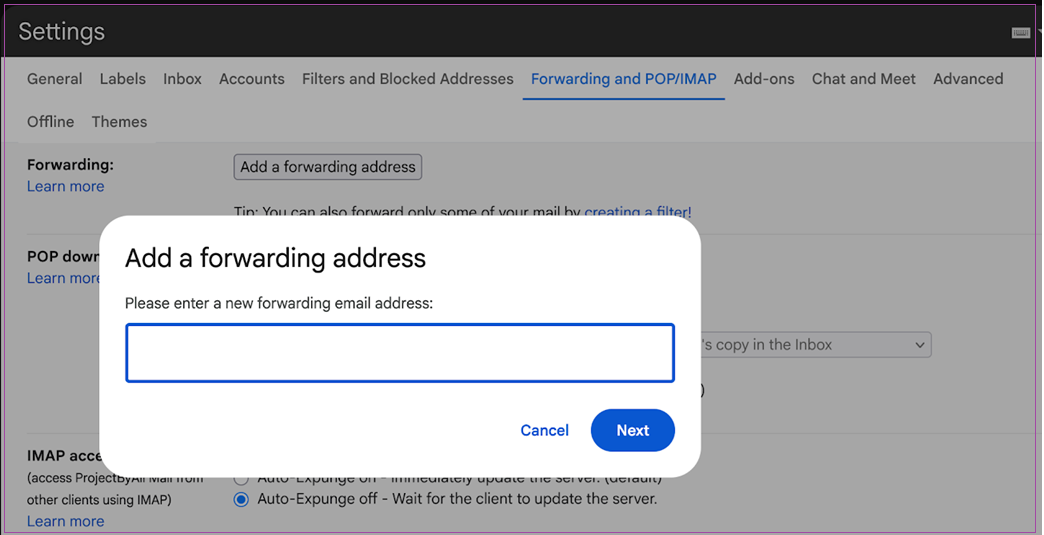
Click Add a forwarding address.
Insert your email in the pop-up window.
If you are too busy to check all the messages yourself, you can give your staff access to your email:
Under the Messaging tab, go to General Messages.
Click the pencil icon next to Authorised Recipients.
Add your staff email addresses to give them access to your emails.
Now that every step is done, you are going to receive all emails on your Gmail account also on Zeevou Inbox.
Email syncing depends on the permission level where you generate or connect the forwarding address.
Log into app.zeevou.com and navigate to the Staff Management dashboard and open the Staff tab.
Click the three dots beside the staff member you want to edit.
Select View to open the staff member’s dashboard.
Click Manage Staff Account and select Generate Forwarding Email.
A confirmation window will pop up stating “Email Forwarding Generated”.
Copy the Generated Email Forwarding.
Then, navigate to your email client and set up a forwarding rule to send all your messages to this address.
Log into app.zeevou.com and navigate to the Staff Management dashboard and open the Teams tab.
Click the three dots beside the team you want to adjust and select Edit.
Enable the toggle Connect Your Team to Zeevou Unified Inbox to allow team members to receive and reply to emails sent to the team’s email address directly from their Zeevou accounts.
Enter the Team Email Address in the provided field.
Enter the Email Forwarding Address in the provided field.
Click Save.
A confirmation window will pop up stating “Email Forwarding Generated”.
Copy the Generated Email Forwarding.
Then, navigate to your email client and set up a forwarding rule to send all your messages to this address.
Log into app.zeevou.com and click the Gear icon.
Select Settings.
Then, select a Brand from the left menu.
Navigate to the Messaging tab, Inbox Integration card and click Generate Forwarding Address.
Once configured, emails sent to the brand’s forwarding address will be visible to authorised staff across the brand as applicable.
Copy the Generated Email Forwarding.
Then, navigate to your email client and set up a forwarding rule to send all your messages to this address.
Here, the Gmail account is displayed as an example: