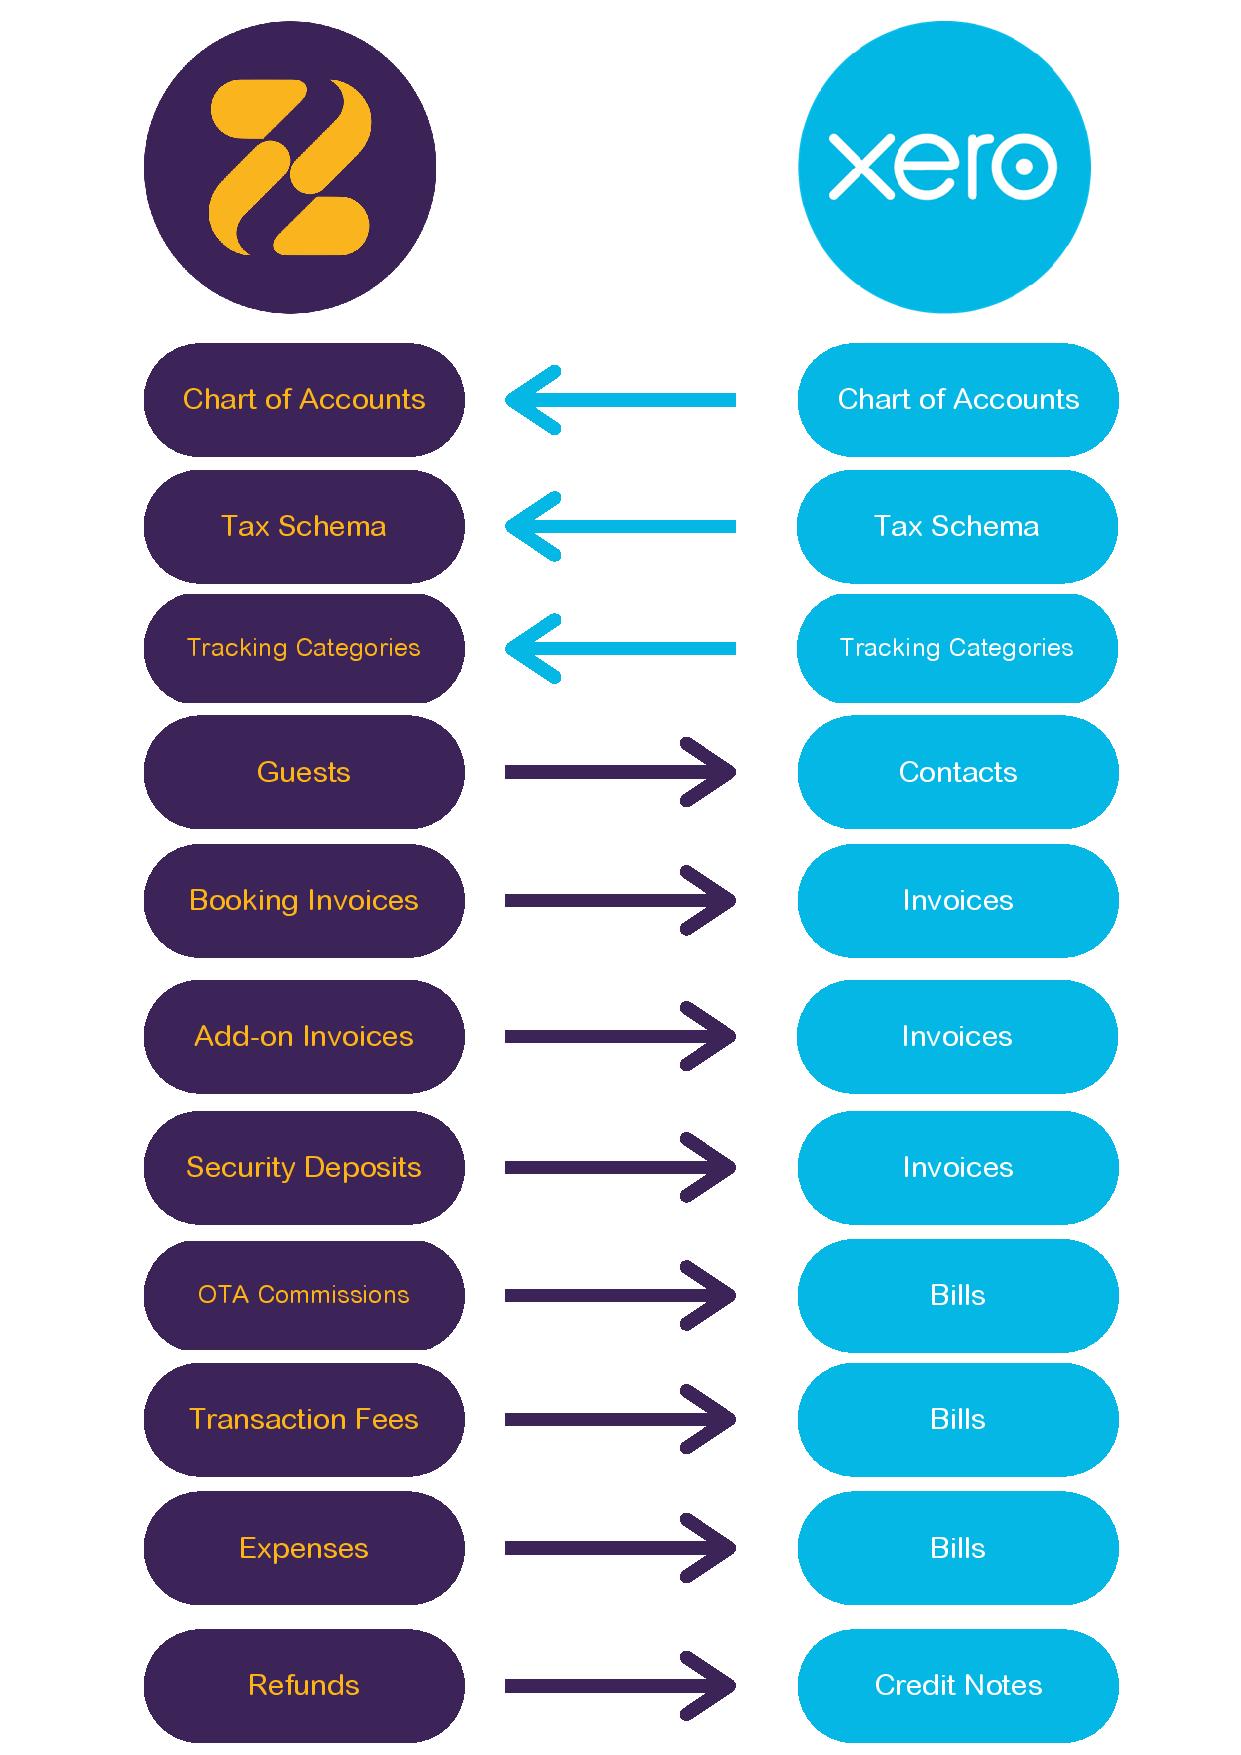
The flow diagram below represents the flow of data between Zeevou and Xero.
Step 1: Sign up with Xero.
Step 2: Log in to app.zeevou.com.
Step 3: Click the gear icon and select Integrations. On Integrations, click the Accounting tab and then on Xero. On the open page, click Connect to Xero.

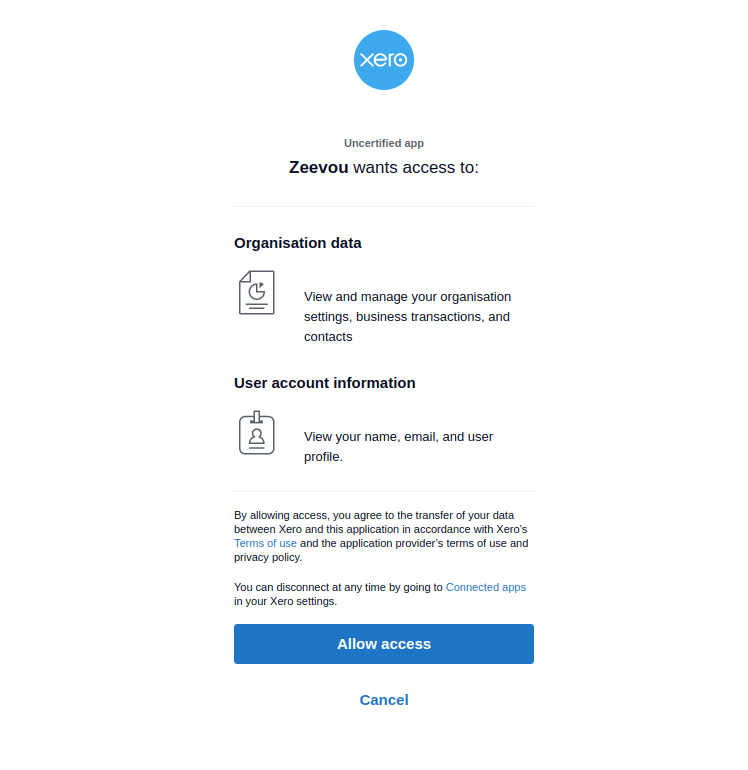
Step 4: Enter your Xero login details.

Step 5: Click Allow Access.
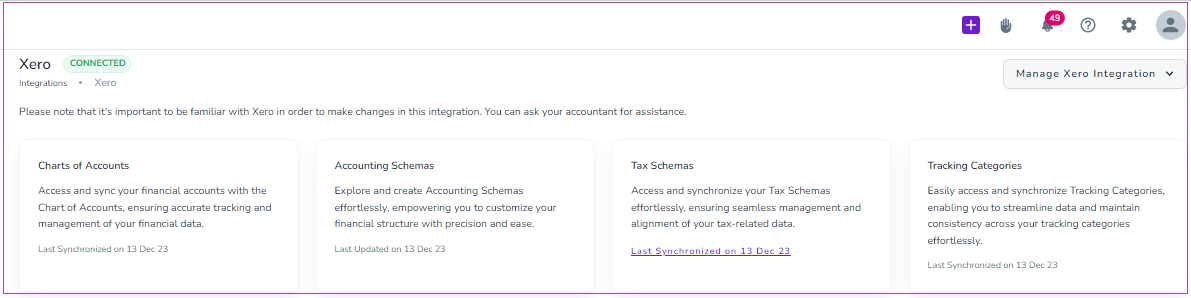
Step 6: If the integration is successful, you will view Xero as Connected.
Go to Integrations -> Xero -> Chart Of Accounts, and click Sync Accounts.

This will pull all the details from your Chart of Accounts in Xero.
Go to Integrations -> Xero -> Accounting Schemas and click Create an Accounting Schema.
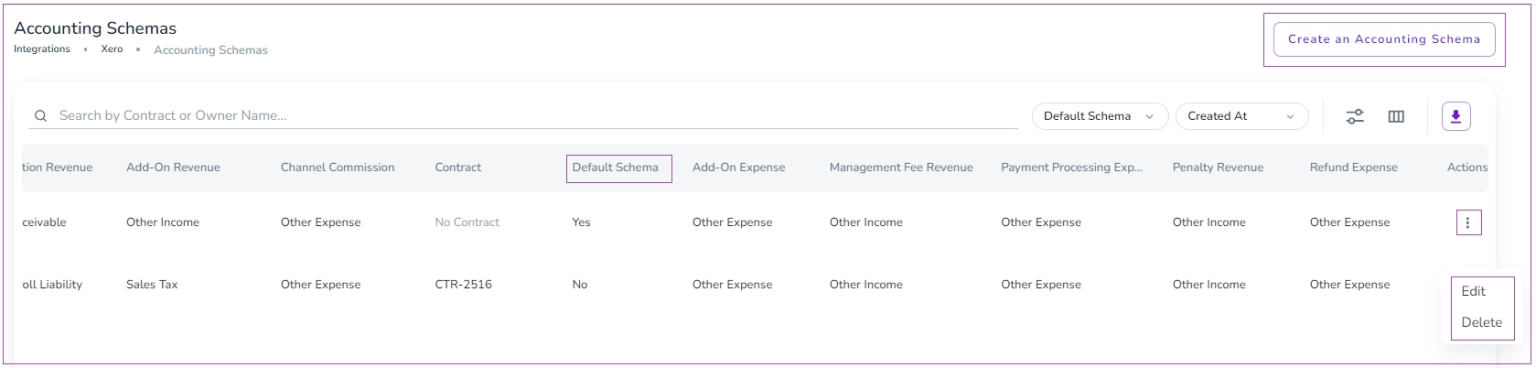
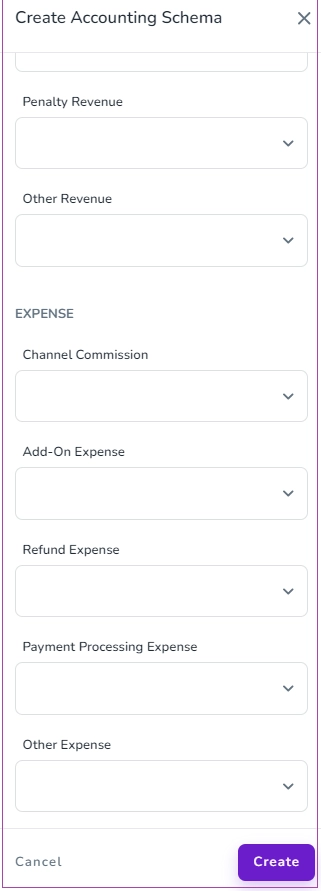
Then, a drawer opens; you should first select the Contract and fill out all the Revenue and Expense fields by selecting the related account in Xero. Finally, click Create. (This step is recommended for accountants to perform.)
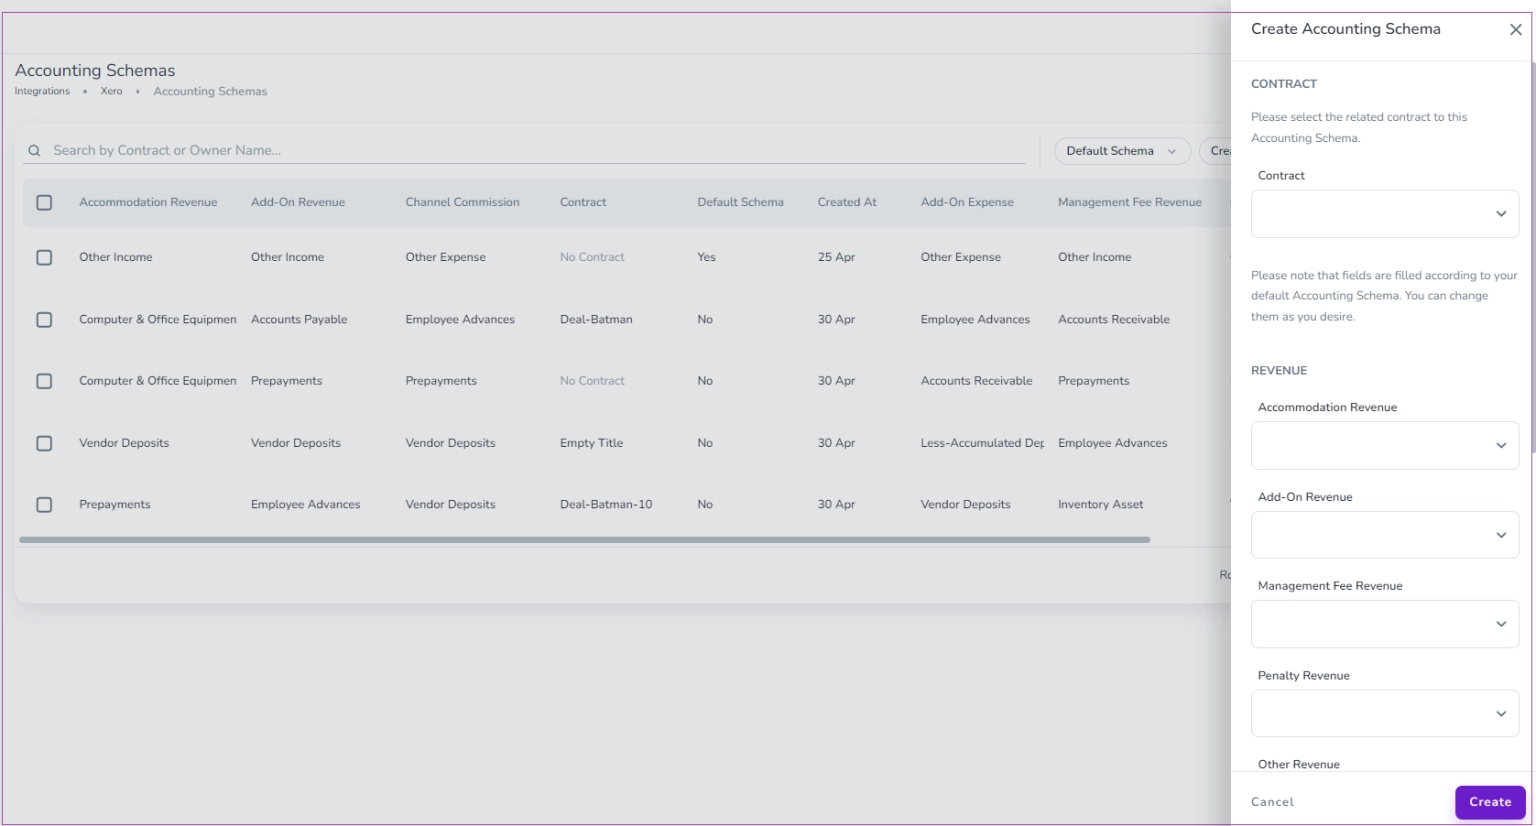
Note 1: The fields are filled according to your default Accounting Schema. You can change them as you desire.
Note 2: You can click the three dots to edit or delete each schema.
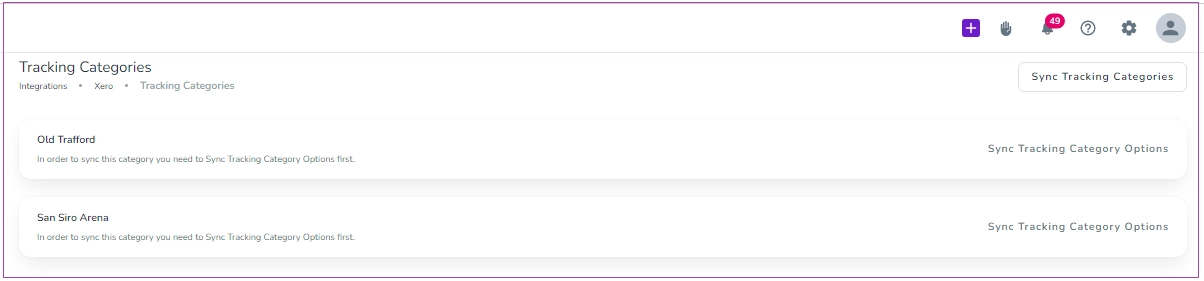
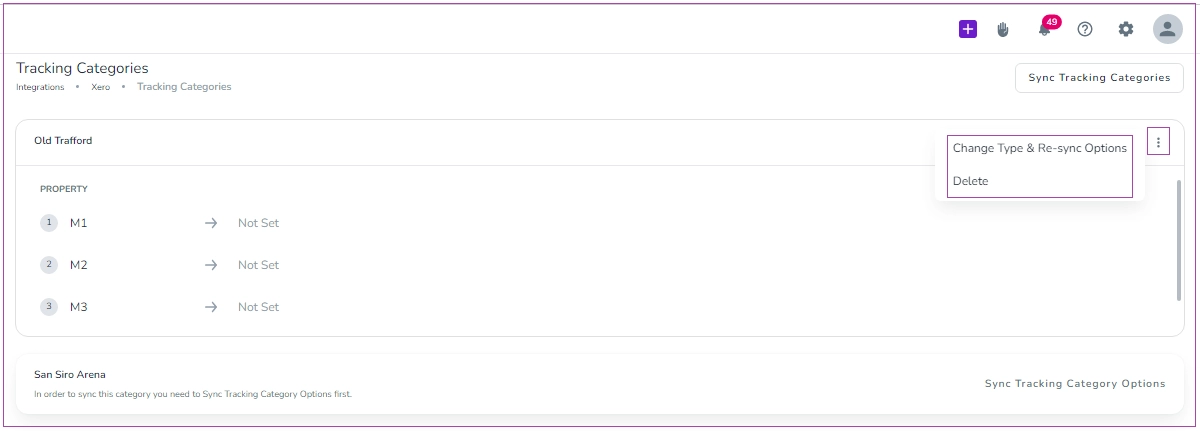
1. First, you need to sync Tracking Categories Xero and map them to their related entities in Zeevou. Go to Integrations -> Xero-> Tracking Categories:
2. Click Sync Tracking Categories. As a result, all the categories that you have defined in Xero will be pulled into Zeevou.
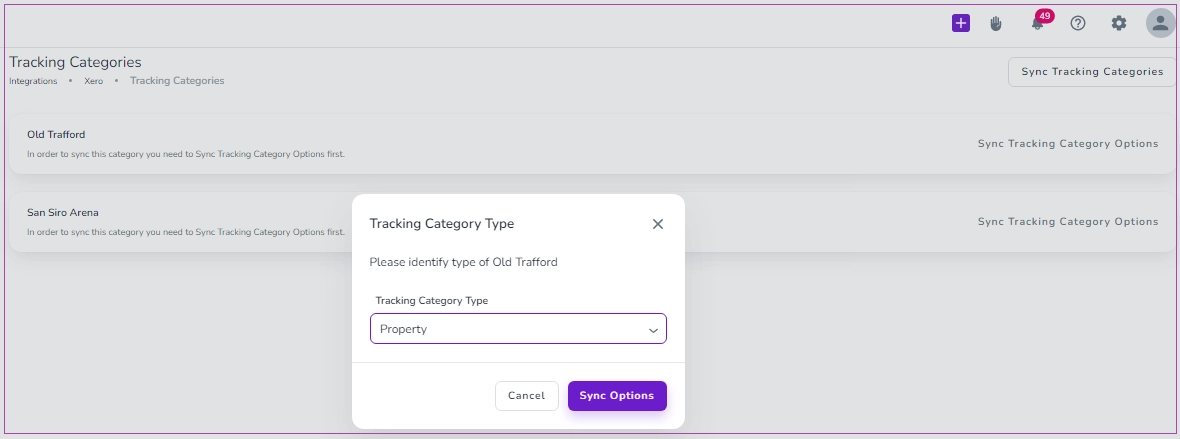
3. Once the categories have synced, choose the target entity types by inline editing. Currently there are three target types: Property, Unit Type, and Unit. Select your desired type, and click on Sync Options.
4. Next, you need to click Sync Tracking Category Options in the top right-hand corner of the page. After that, your tracking options will be downloaded from the server, and the related grid on this page will be filled with the mentioned data.
Note that you can click the three dots to select Change Type & Re-Sync Options or Delete.
Please remember that every time you update Xero tracking categories OR tracking category options on the Xero website, you should sync them on Listings from Settings -> Xero Tracking Categories.
To post the Tax details of invoices to Xero, you need to Sync Tax Schemas with Xero.
Go to Integrations -> Xero-> Tax Schemas, click Sync Tax Rates With Xero.
Easily update existing expense entries or configure default tax settings to ensure accurate VAT treatment, seamless reconciliation, and full compliance with your accounting requirements.
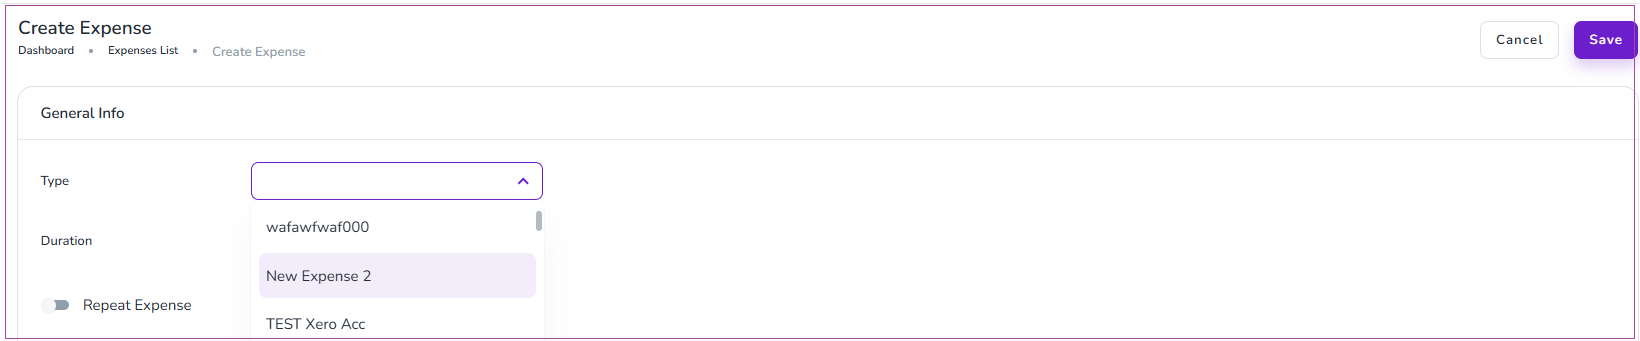
When you post an expense to Xero from Zeevou, the expense can be posted as one of three types (Included, Excluded, No Tax) based on what you set before on the Expense Page. To do so, go to Finance -> Expenses -> Create Expense and choose the Tax Type:
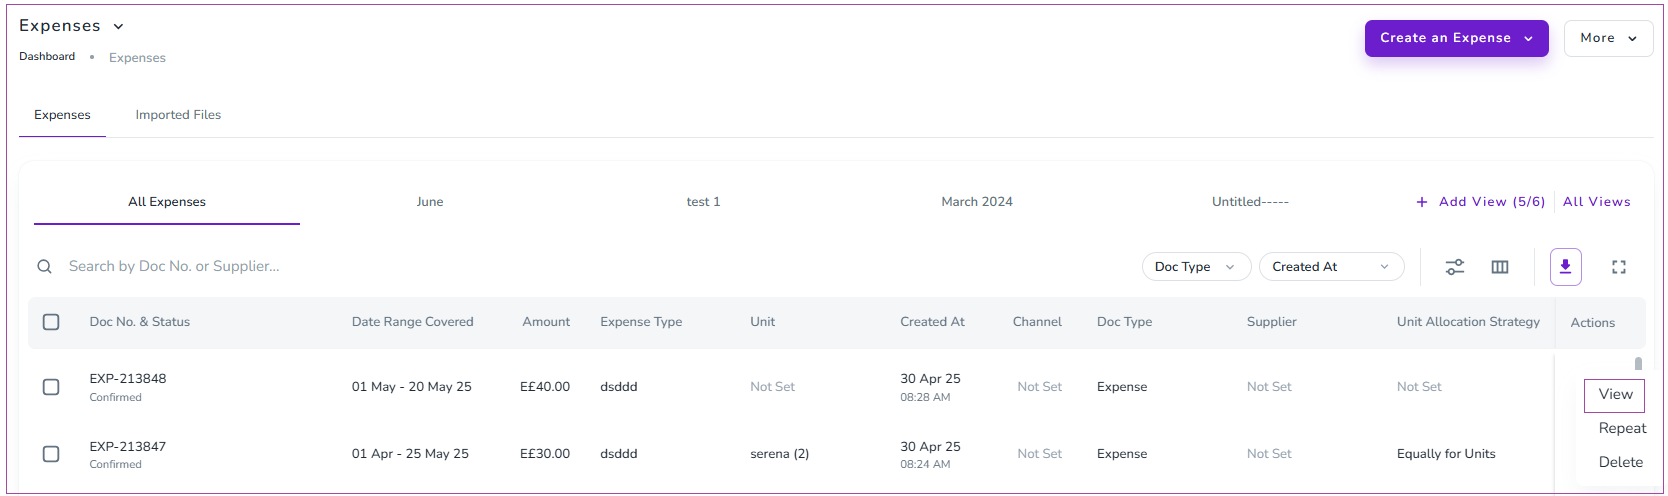
You can change the status of the tax type for the created Expense by clicking the three dots on the right side of the expense. Then, select View. A window will appear in which you can edit the type of tax.
On the Finance tab, click the pencil to edit it.
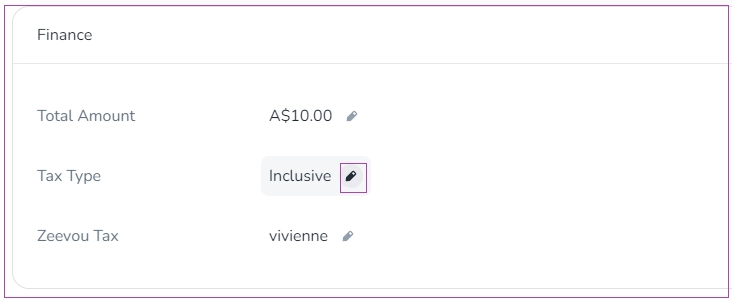
Note: The organisations that do not have integration with Xero will have no access to this field.
Zeevou can post invoices to Xero once a guest checks out. Before that point, the invoice in Zeevou is kept as a draft invoice (pro-forma), and it cannot be posted to Xero yet, as there may be changes to the booking before the guest leaves.
To post invoices to Xero, all invoice lines should have an account. To do so, you need to not only fill in the Accounting Schema but also set up Investor Deals. Once you have done so, click on Finances -> Invoices and open the relevant invoice. You should see an option on the top right, "Post to Xero". Once posted, you can click on the Remote Invoice No. to check if the details have been sent across correctly.
Note: For the invoices that have already been created before the integration and have no accounting code, you should change their status to Draft and then try to regenerate the Invoice. After regenerating, the invoice will be filled with assigned Account Codes in the Accounting Schema.
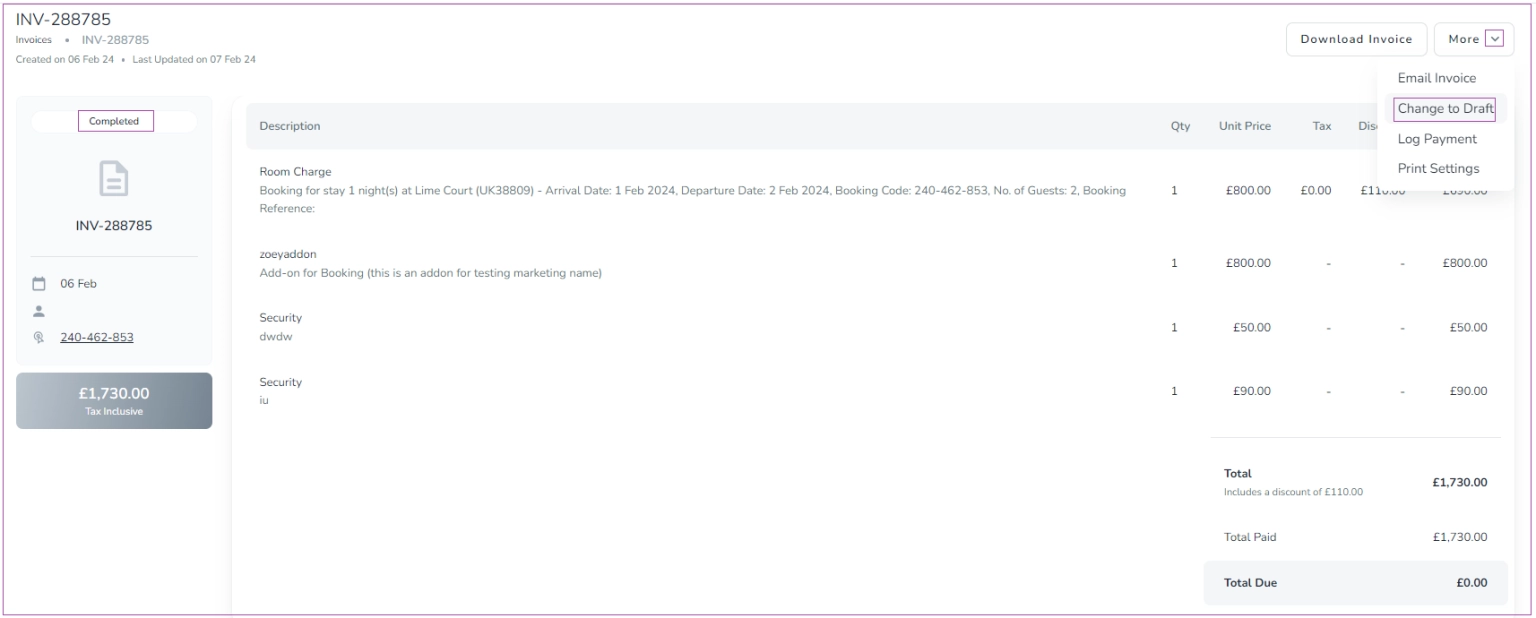
If the invoice status is Completed, to add any new changes to it, you can go to Finance-> Invoices, open the desired invoice page. Then, click the More arrow and select Change to Draft.
Note that when you add the new changes to the booking, come back to the invoice page, and click the More arrow and select Re-generate Invoice.
If you have already Posted the invoice to Xero, to add new changes, you can go to Finance-> Invoices, open the desired invoice page. Then, click on Void from Xero.
Xero invoices and expenses on Tax Schema
When an organization is integrated with Xero, on adding a contract that is integrated with Xero, the system asks you to select an Income Tax Schema and an Expense Tax Schema.
If no tax type or tax rate is selected in these schemas (for example, they are set to No Tax), they will not have any impact on invoices or expenses synced with Xero.How Tax Schemas Are Used
Income Tax Schema Used when posting customer invoices to Xero.
To see tax applied on invoices in Xero, a tax type and tax rate must be selected.
Expense Tax Schema Used when posting expenses (bills) to Xero.
A tax type and tax rate must be selected for tax to appear on Xero bills.
Important Notes
If both schemas are set to No Tax, they will not affect invoices or expenses.
To fully use Xero’s tax functionality and see tax reflected in Xero, make sure to select the appropriate tax type and rate for each schema.
Under Integrations -> Integrations, scroll to Xero and click Disconnect.
