
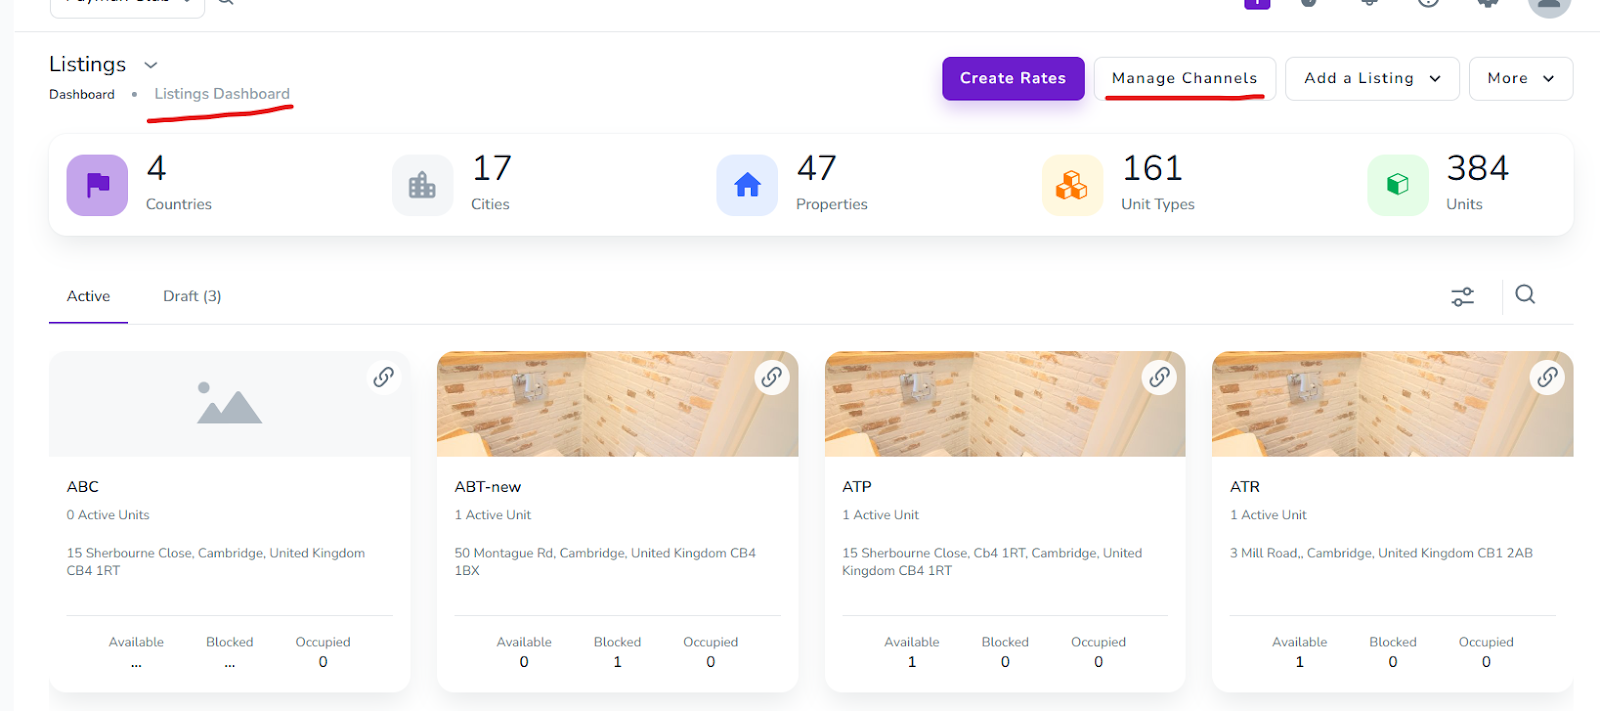
Note that before any step, if you log in to app.zeevou.com and see the below figure in your Listings Dashboard page, please follow Connection Type A Instructions. Otherwise, go ahead with Connection Type B Instructions.
Connection Type A Instructions:
Log into Booking.com Extranet and open your desired listing page.
Click the Profile icon in the top-right corner, then select Connectivity Provider.
If your listing is connected to another channel manager, click Switch to a new channel manager and confirm using the code sent via SMS/email.
Note: Ensure your Listing, Unit Type, and Unit are fully set up in both Zeevou and Booking.com to avoid bookings being assigned to incorrect units.Under Channel Manager’s Name, search for QuickConnect and select it.
Tick Extranet Access and click Connect.
The QuickConnect connection will be done automatically, and proceed with the mapping and setup.
Copy your Listing ID from Booking.com (found at the top-center of your Extranet page).
Log into app.zeevou.com, go to Listings, and click Manage Channels in the top right.
Select Booking.com and tick Attestation, then click Save & Next.
Click Synchronise Your First Property and confirm by clicking Yes.
Paste the Hotel ID, verify the currency, and click Next.
To link a Booking.com listing to a Zeevou rate plan, click Connect This Room.
Then, click Manage 1 Rate and select Activate.
Adjust the number of people in pricing under Advanced, set the markup percentage if needed, and click Save.
Setting Extra Guest Pricing
To set extra guest pricing on Booking.com:
Go to Calendar under Rates & Availability, expand the main rate, and select Edit Occupancy Pricing.
Verify the base number of people, enable the extra guest fee toggle, and input the price per additional occupant.
Save changes. For further adjustments, contact Booking.com support.
Connection Type B Instructions:
1. Log into your Booking.com Extranet and open your desired listing page.
2. Click on the Profile icon in the top right-hand corner and then Connectivity Provider.
3. If your listing is connected to another channel manager, click on the Switch to a new channel manager button. You may be required to confirm a code sent to you by SMS/email.
NOTE: !!! Before connecting to Booking.com, make sure that you have fully set up your Listing, Unit Type, and Unit on Zeevou and BDC listing, or you will end up getting bookings flowing into system-generated units that will be a lot of manual work to then put right. !!!
4. Ensure you have selected the correct Pricing Model: it is set to Room Based by default, but if you charge different rates for different occupancies, you need to select Occupancy Based. This must be done before you request to connect to Zeevou.
5. Under Channel Manager’s Name, click on Search for Providers and type Zeevou.
6. Click on Connect.
7. Once confirmed, you will get an email to let you know that you can proceed with the mapping.
8. While waiting for the confirmation, copy your Listing ID from Booking.com (You can find it at the centre of the page at the top of your Extranet).
9. Go to app.zeevou.com and click on Listings.
10. Open your desired Listing.
11. Click on Manage Channels in the top right.
Note: If you are using Safari, the new pop-up window might not open. Please follow the steps here.
12. Click on Select Channel on the right, then select Booking.com. Finally, click on the + button.
13. In the pop-up window, enter the following details:
Channel Hotel ID: Paste the BDC Listing ID that you copied earlier.
Select Rooms: Select all rooms (unit types) you want to map for this listing.
Currency: Select your desired Currency.
Rate: Select Sell Rate.
Pricing: Select Room Based or Occupancy Based.
Status: Select Inactive.
14. Click on Save.
15. Click on the Map action on the right.
Note 1: Each Unit Type and Rate Plan in Zeevou must be mapped separately.
Note 2: Repeat this step for each rate plan in Booking.com, or ask their support to make them as derived rate plans.
Mapping Details
16. On the pop-up screen, under OTA Listing Name, select your Room Name as set on BDC. You can find your room name and ID under the Property Menu / Property Layout.
17. Room Based Mapping: (According to the mapping Type in Step 4)
Turn on the toggle of the room based button and Select the Applicable No of Guest. For Single Occupancy, turn on the toggle. When enabled, the option will appear to allow you to set up multiple rates.
18. Occupancy Based Mapping: (According to the mapping Type in Step 4)
Turn on the toggle of the Occupancy based button and click on + to add a row for each occupancy level. Don’t change anything for the rows up to your minimum number of guests. Above that, add the extra guest pricing as compared to your base rate for the number of guests included in your base rate.
19. To adjust the rate being sent out, use the fields provided:
Markup Percentage (Next to the Cross "×" Sign): Enter a multiplier to increase/decrease the rate by a percentage. For example, to add 15% to the base price, change the value from 1 to 1.15.
Extra Charges (Next to the +/- Sign): Enter a specific amount to add or deduct from the rate. For instance, type +10 to add 10 units or -10 to reduce the rate by 10 units. This is useful for adding extra guest fees or other charges.
20. Click on Save.
21. You should get a confirmation message saying Room Successfully Mapped.
22. Click on the black square with a Key symbol in the top right corner. On the pop-up screen that appears, click on the > next to Remove and then change the status from Inactive to Active.
Another way to set your Extra Guest Pricing on BDC is done by going to the Calendar under Rates & Availability, expanding the main rate, and clicking on Edit Occupancy Pricing. Make sure that the base number of people is correct. If you need this to change, you need to call up BDC and ask them to do it for you.
Future bookings (those starting as of the following day from when the mapping is completed) will start to import. Check back in a few hours to make sure all your future bookings have been successfully imported.
Please note that when mapping initially, the bookings that are imported from BDC do not contain all the information, such as contact details and payment details. New bookings made after the mapping will include these details automatically. For the existing future bookings, kindly update them manually with the necessary information. You have an option of marking bookings as Channel Collect in bulk from the All Bookings grid on the right by clicking on the three dots and then selecting “Mark As Channel Collect” with the Star Symbol.